


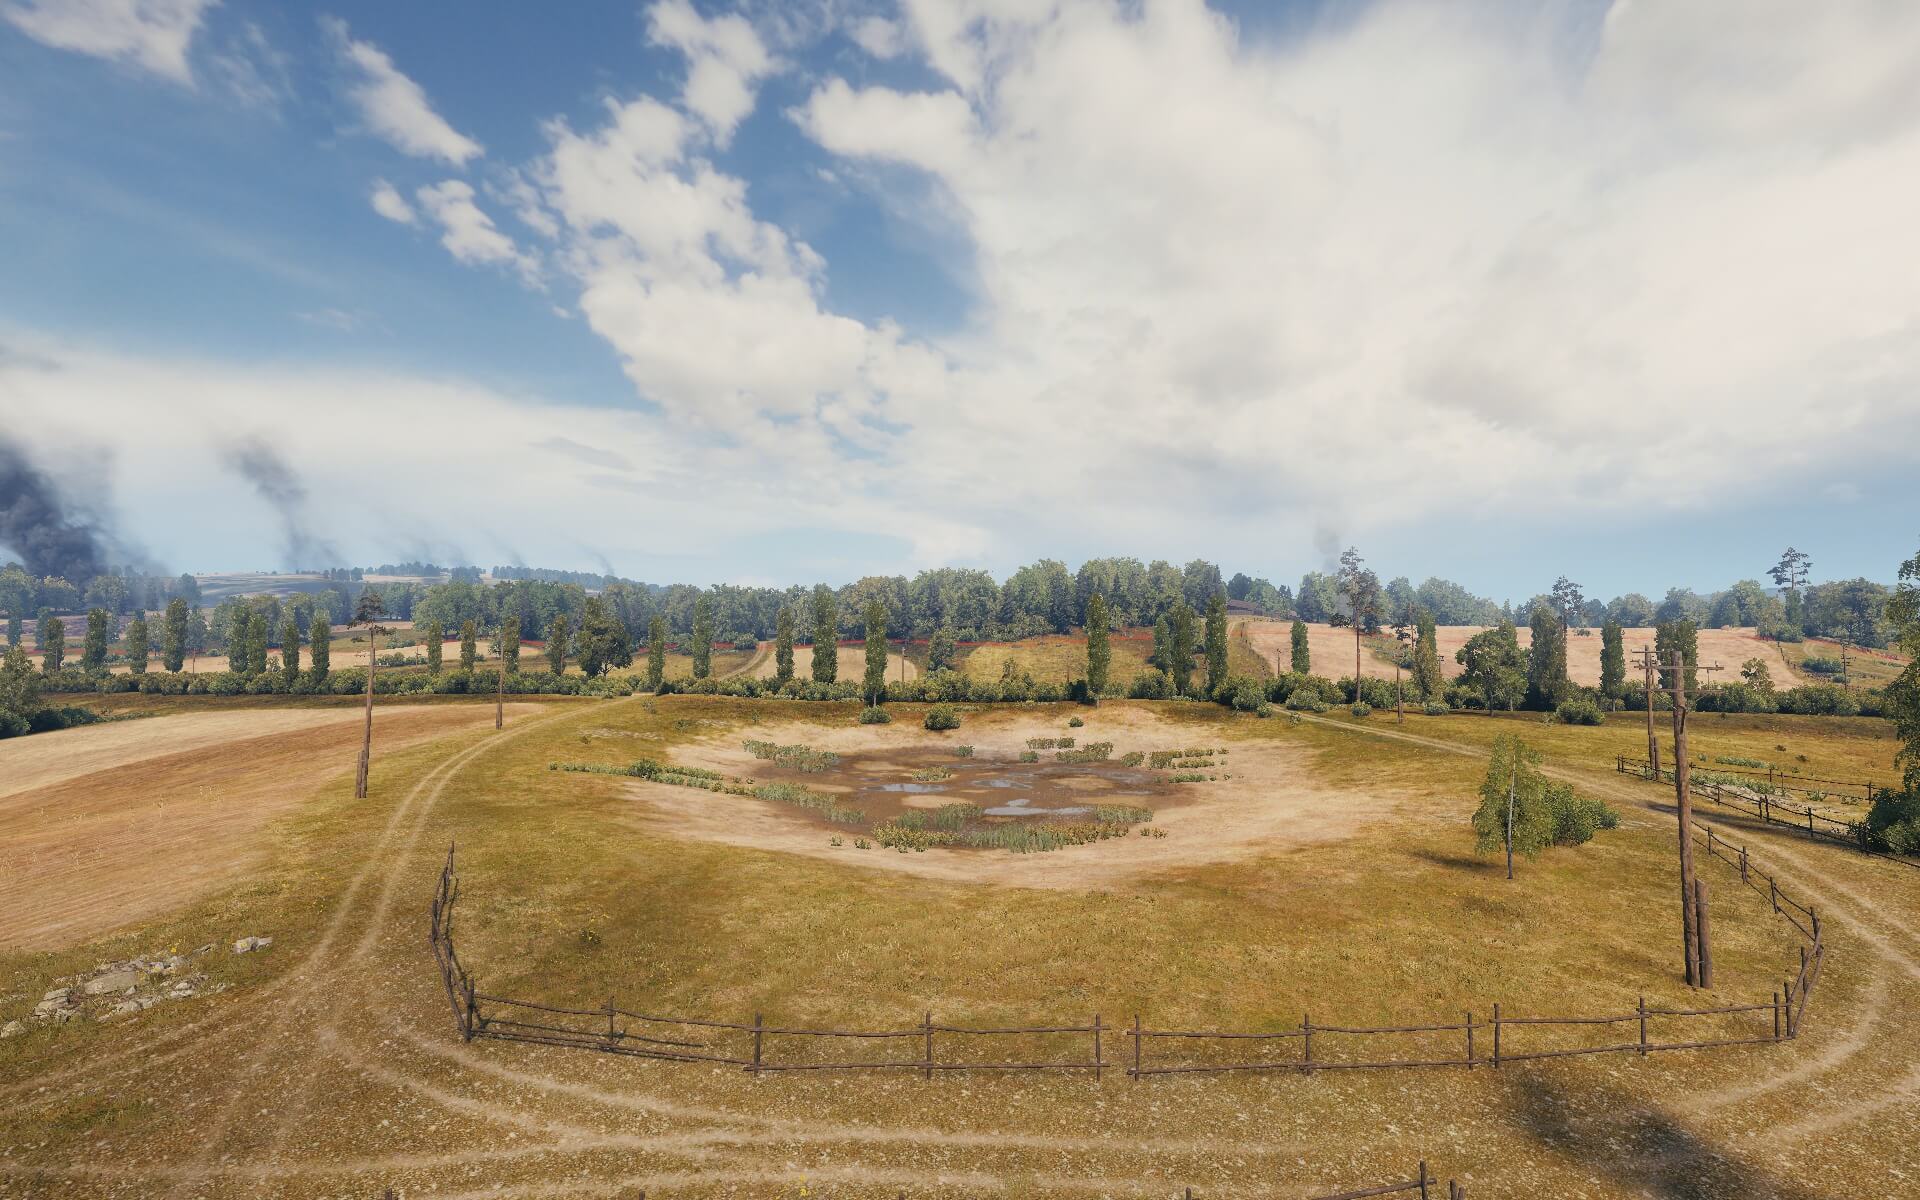
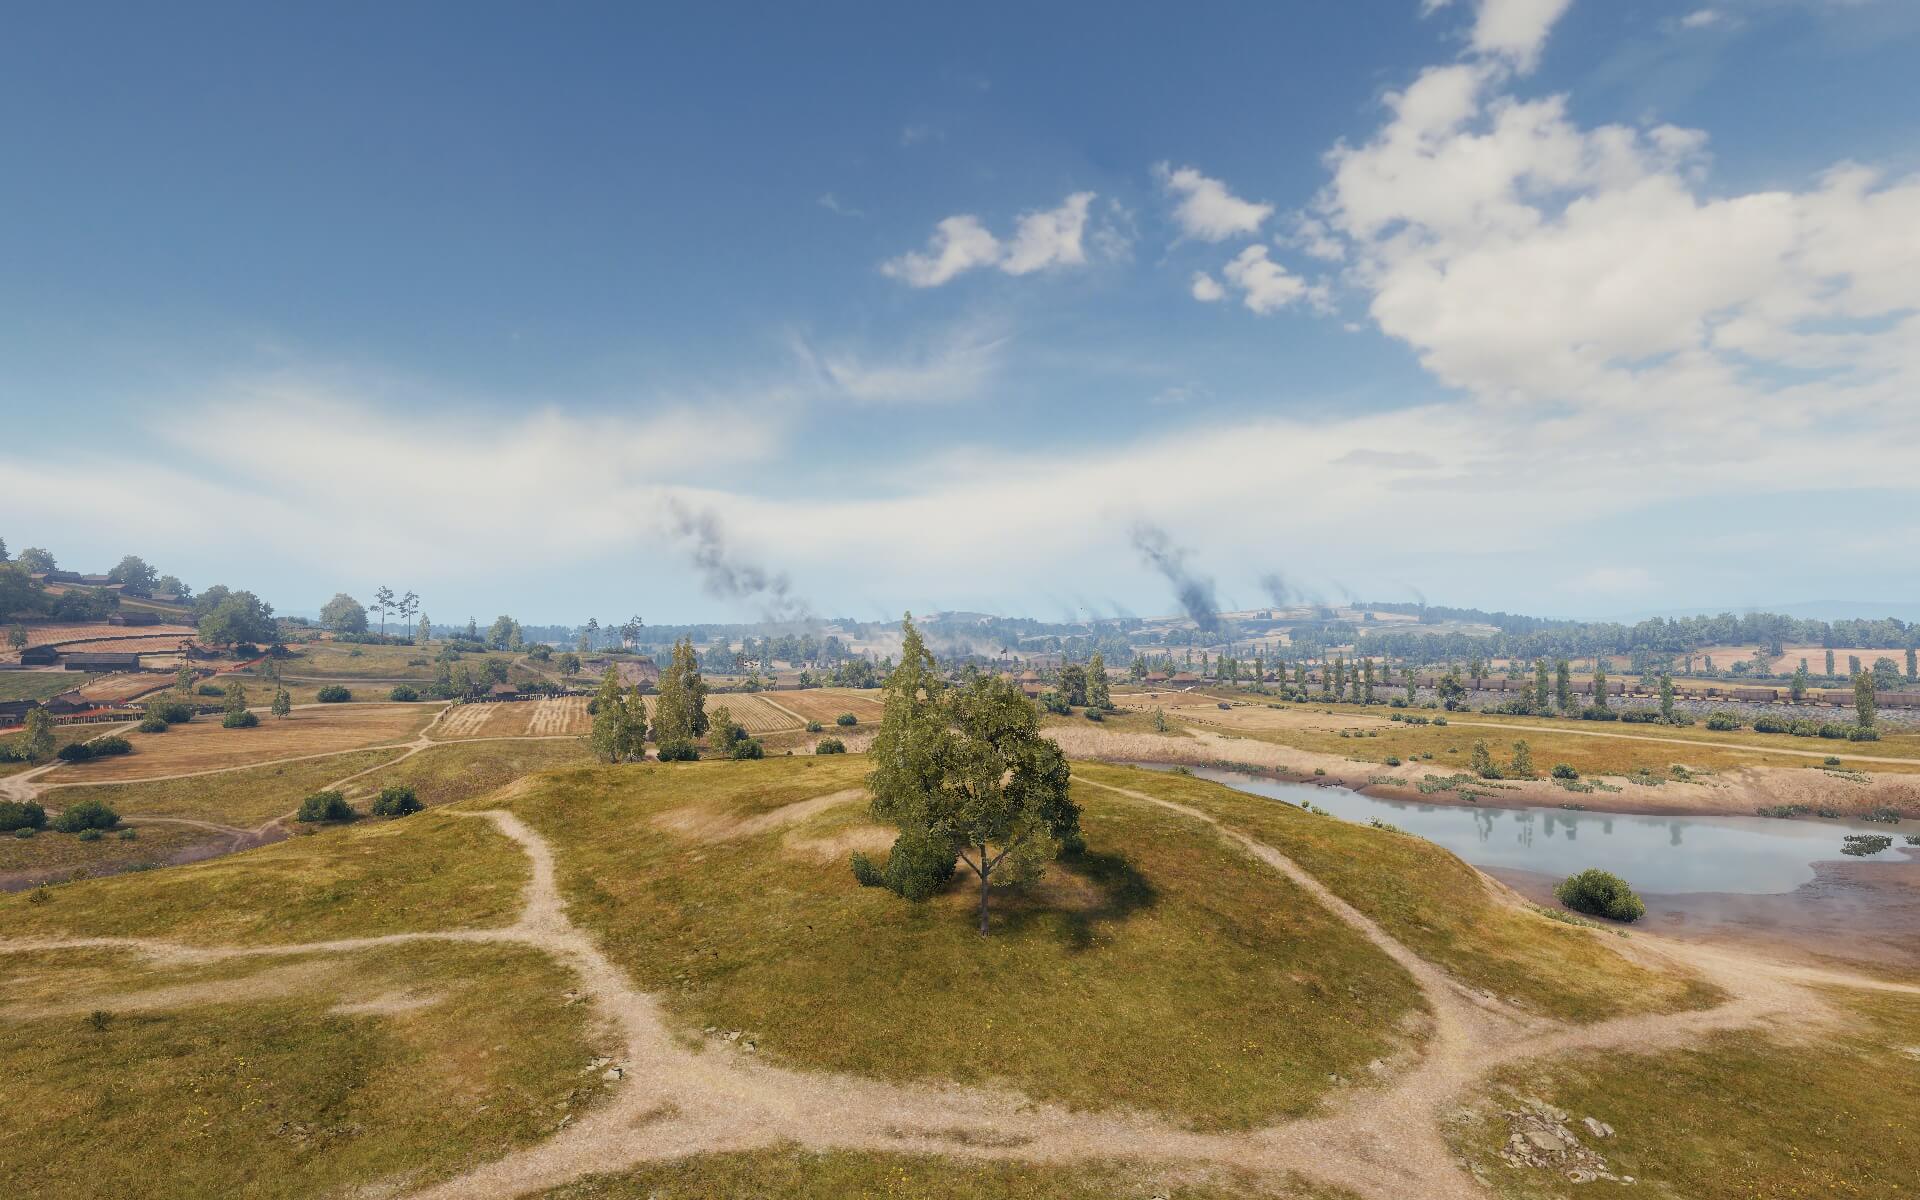
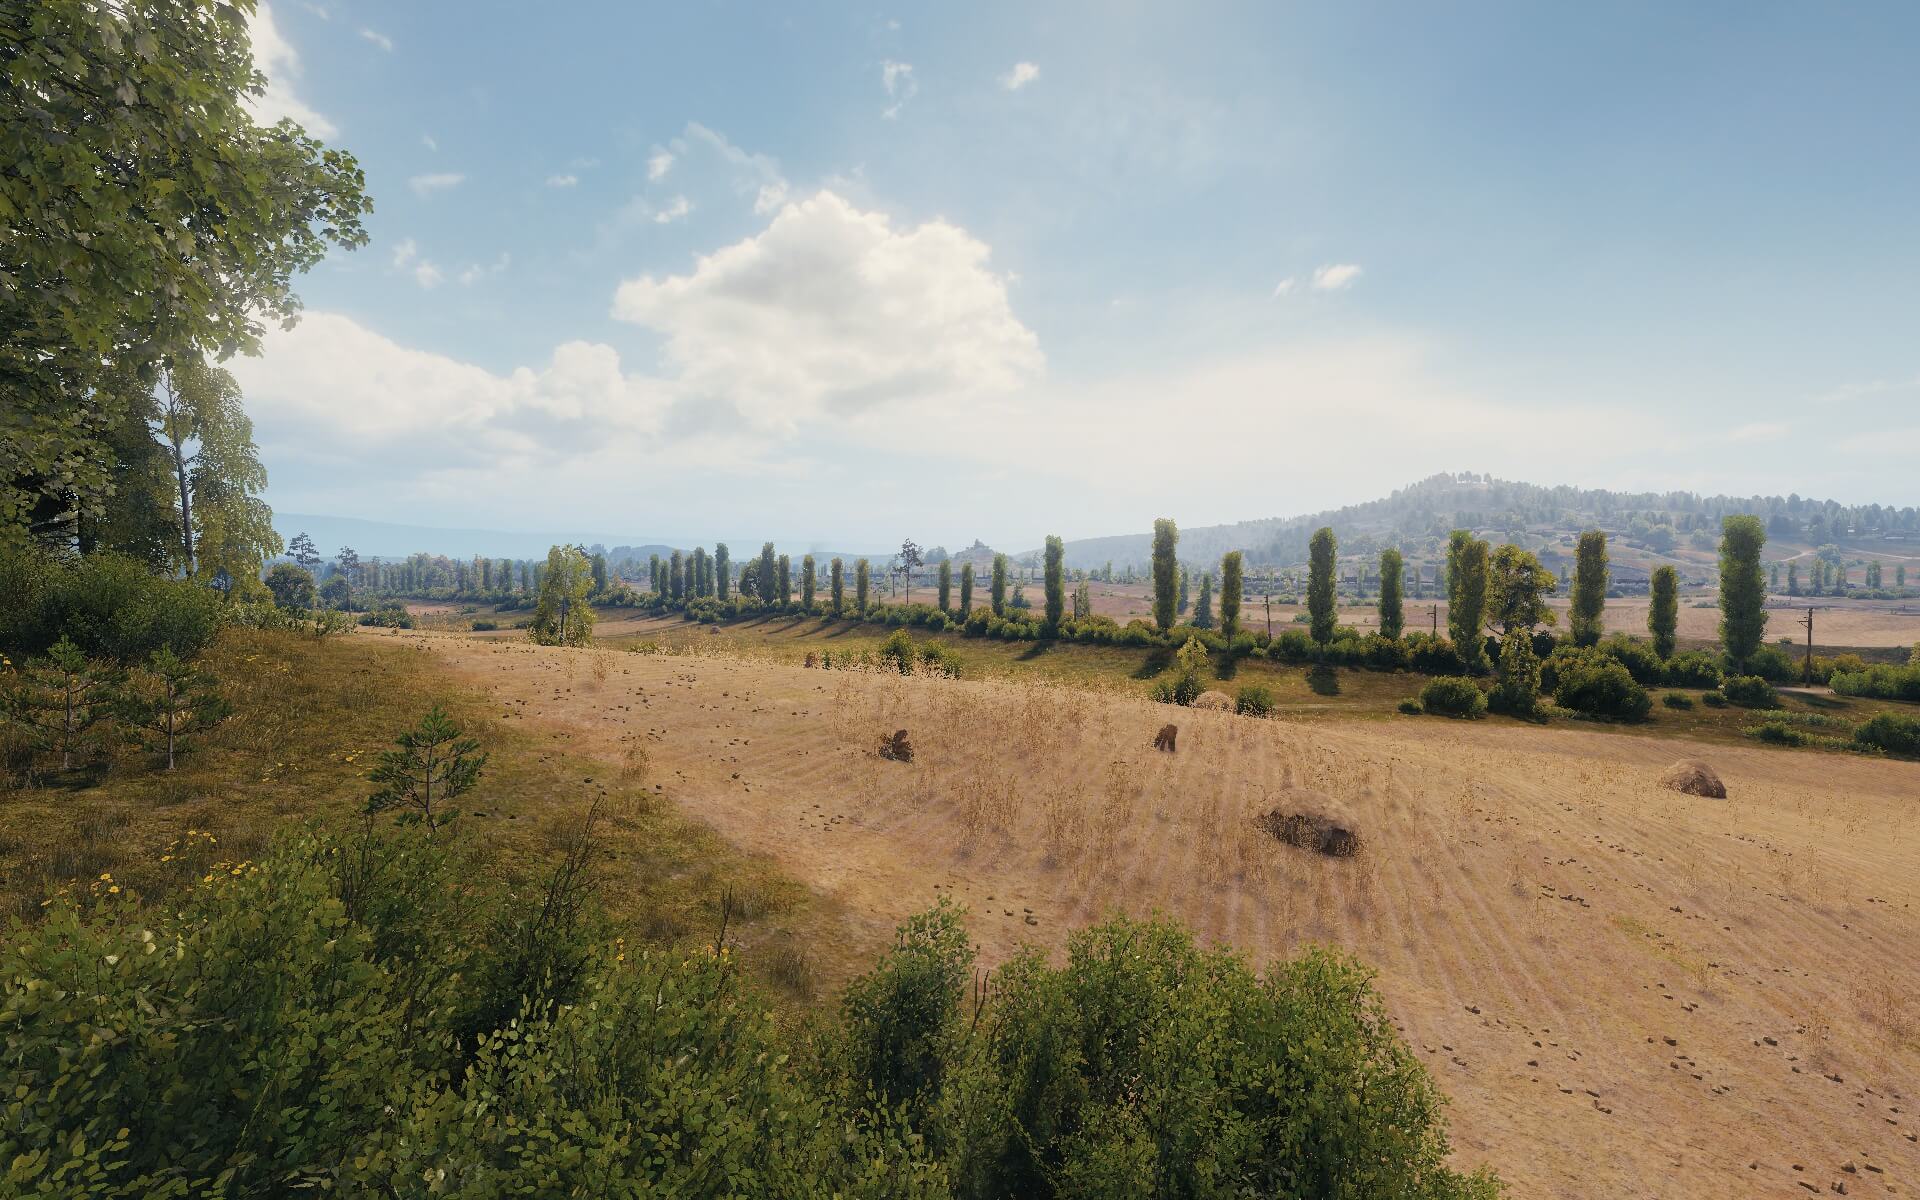
Sneaky position with an overview of a large part of the map. Ideal for passive scouting and racking up spotting damage.

Sneaky position with an overview of a large part of the map. Ideal for passive scouting and racking up spotting damage.

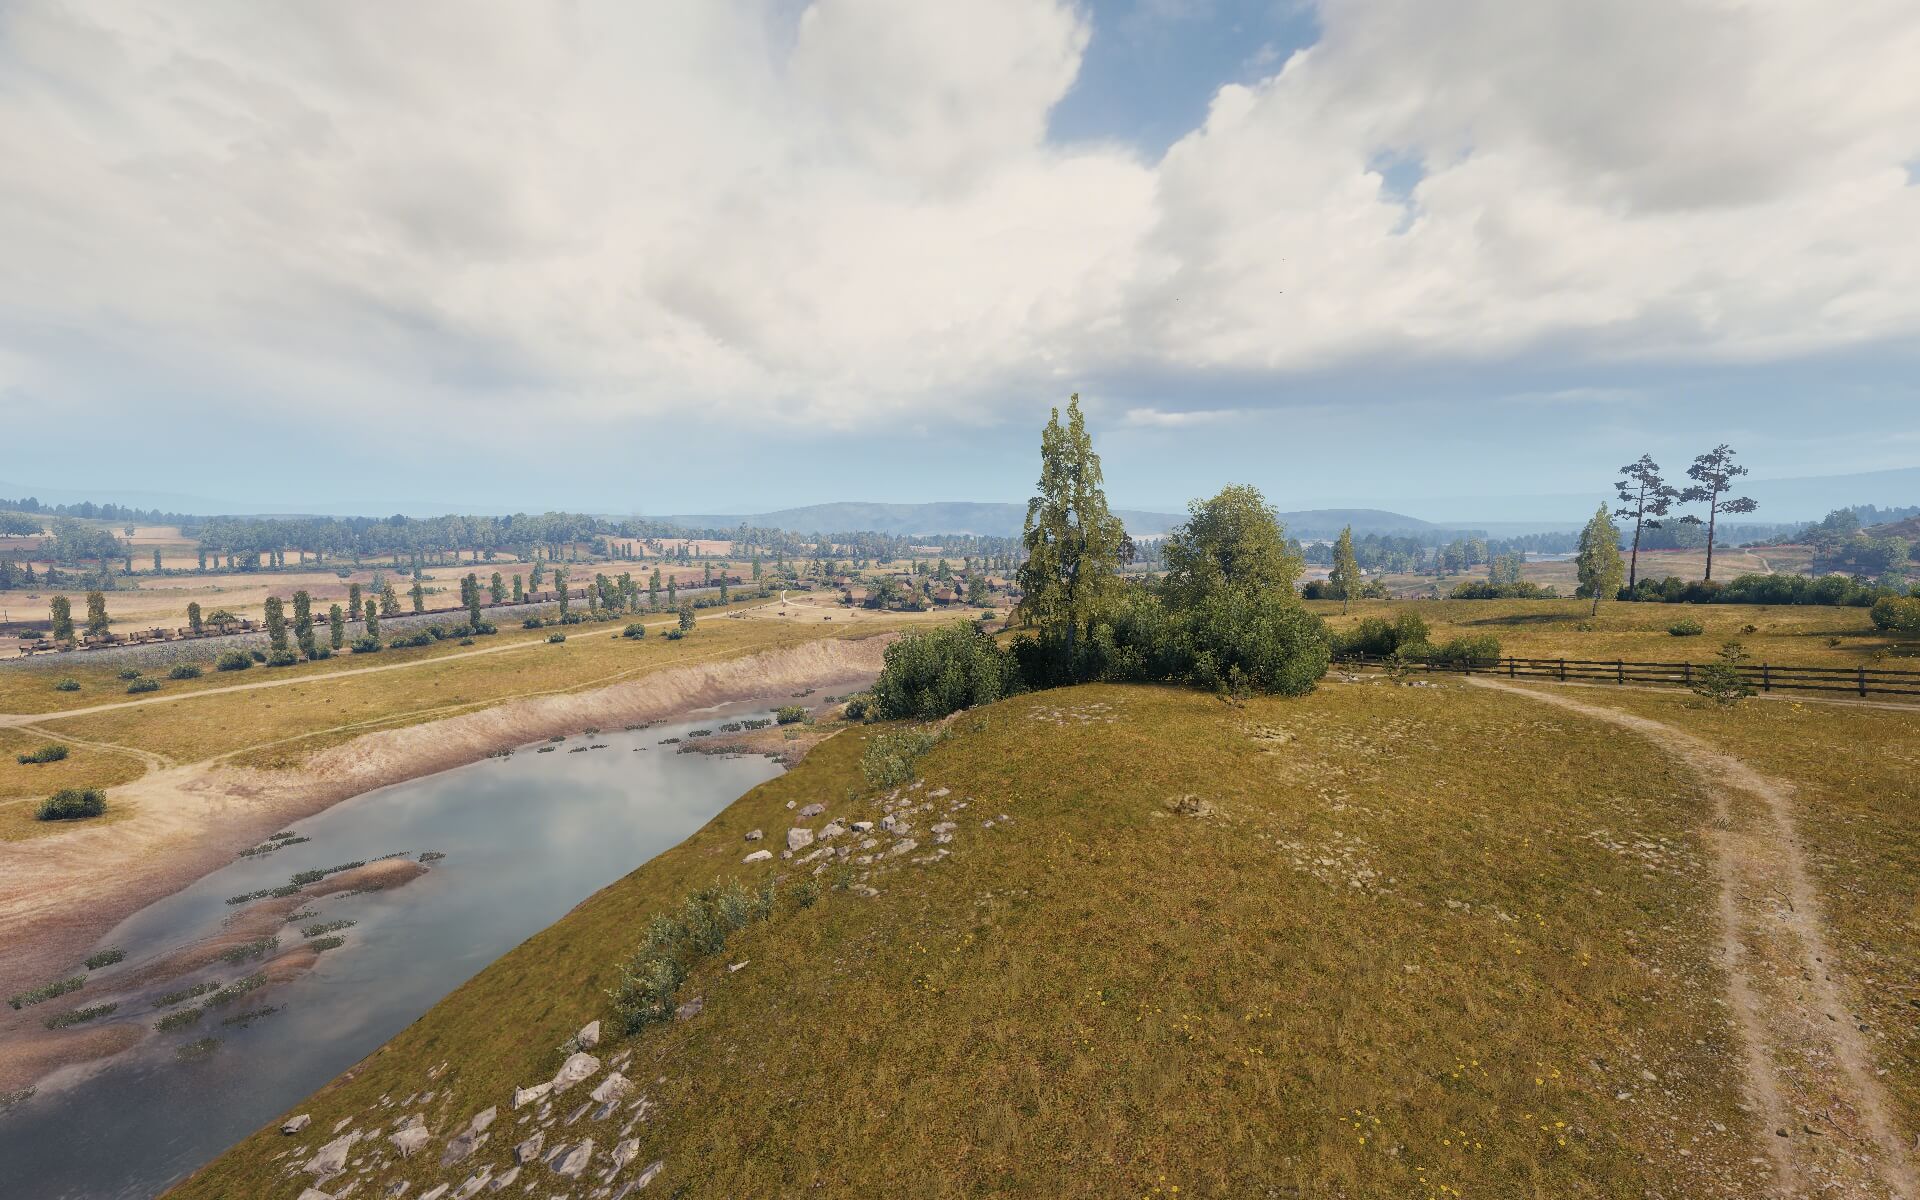
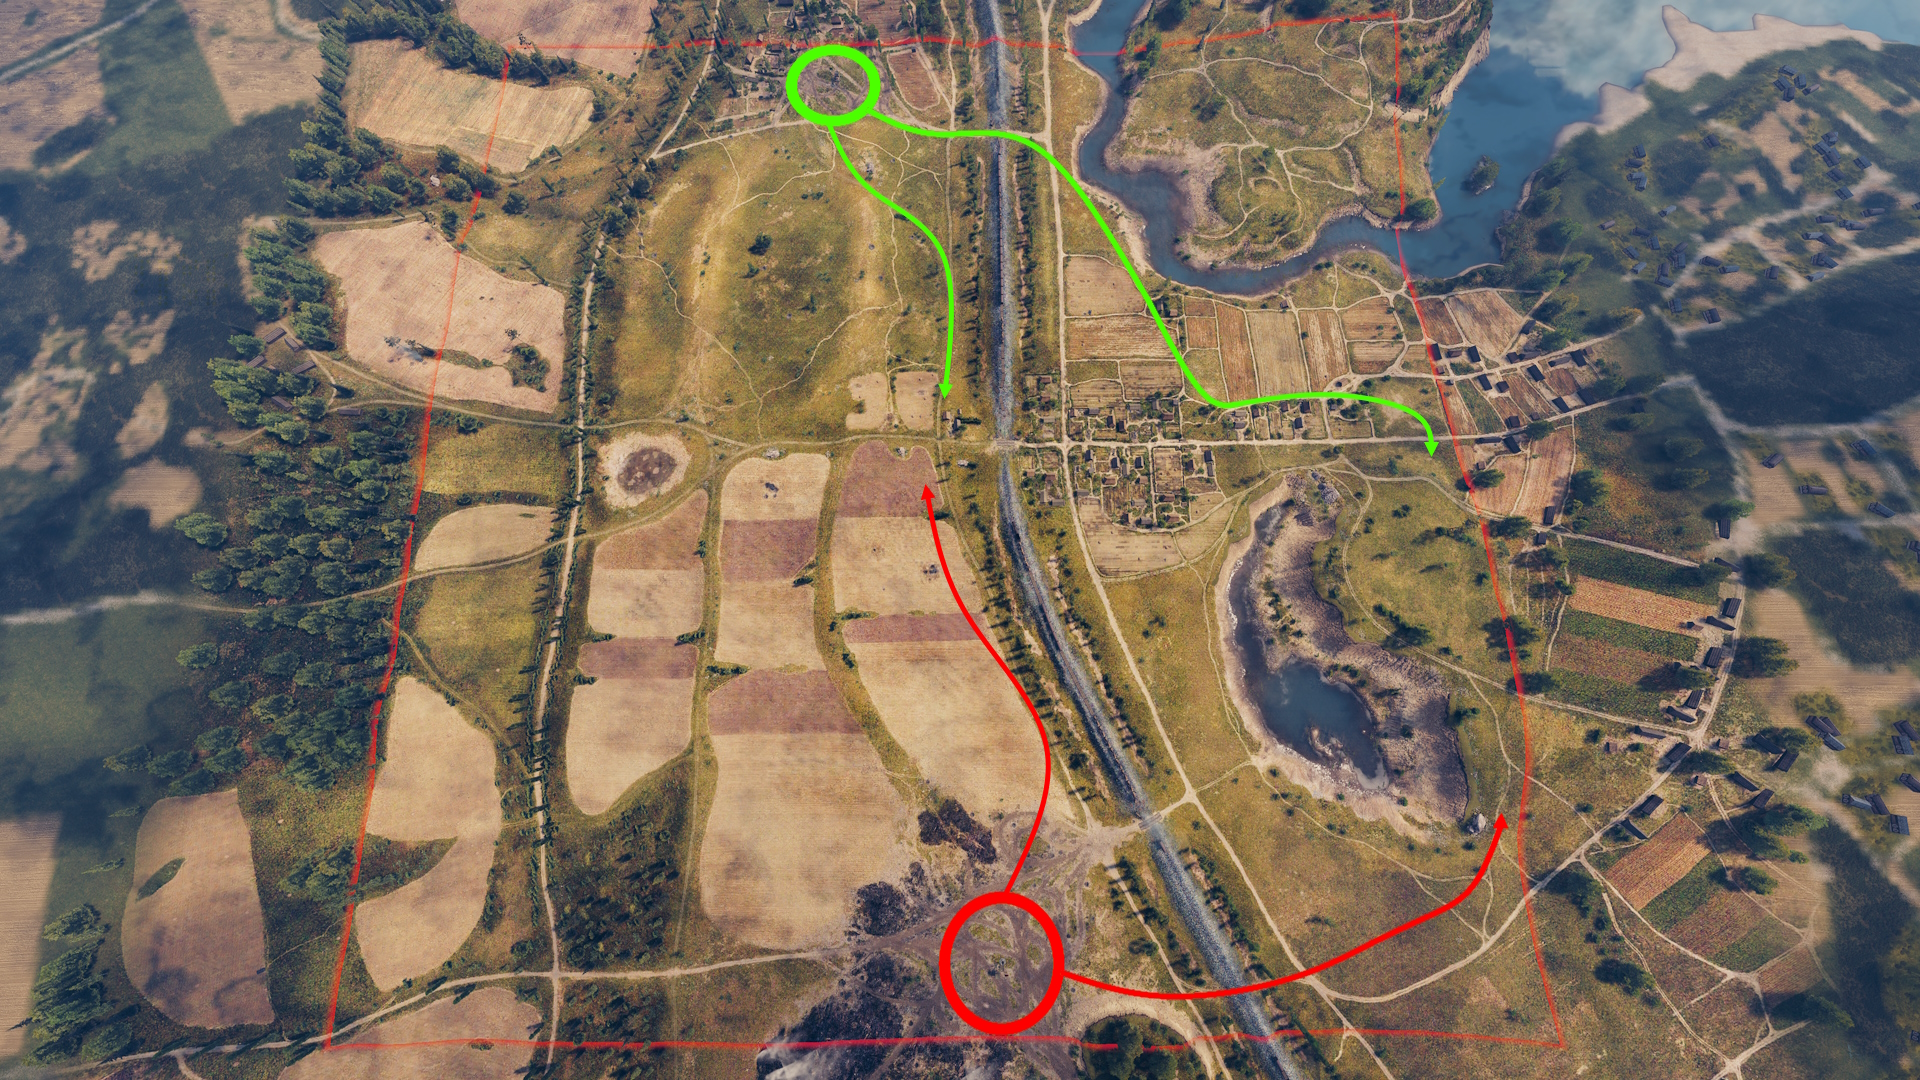
The ditch at the foot of the ridge is a power position for fast heavy tanks to stop the opposing team’s advancements, granting control of the middle. Beware of artillery fire!

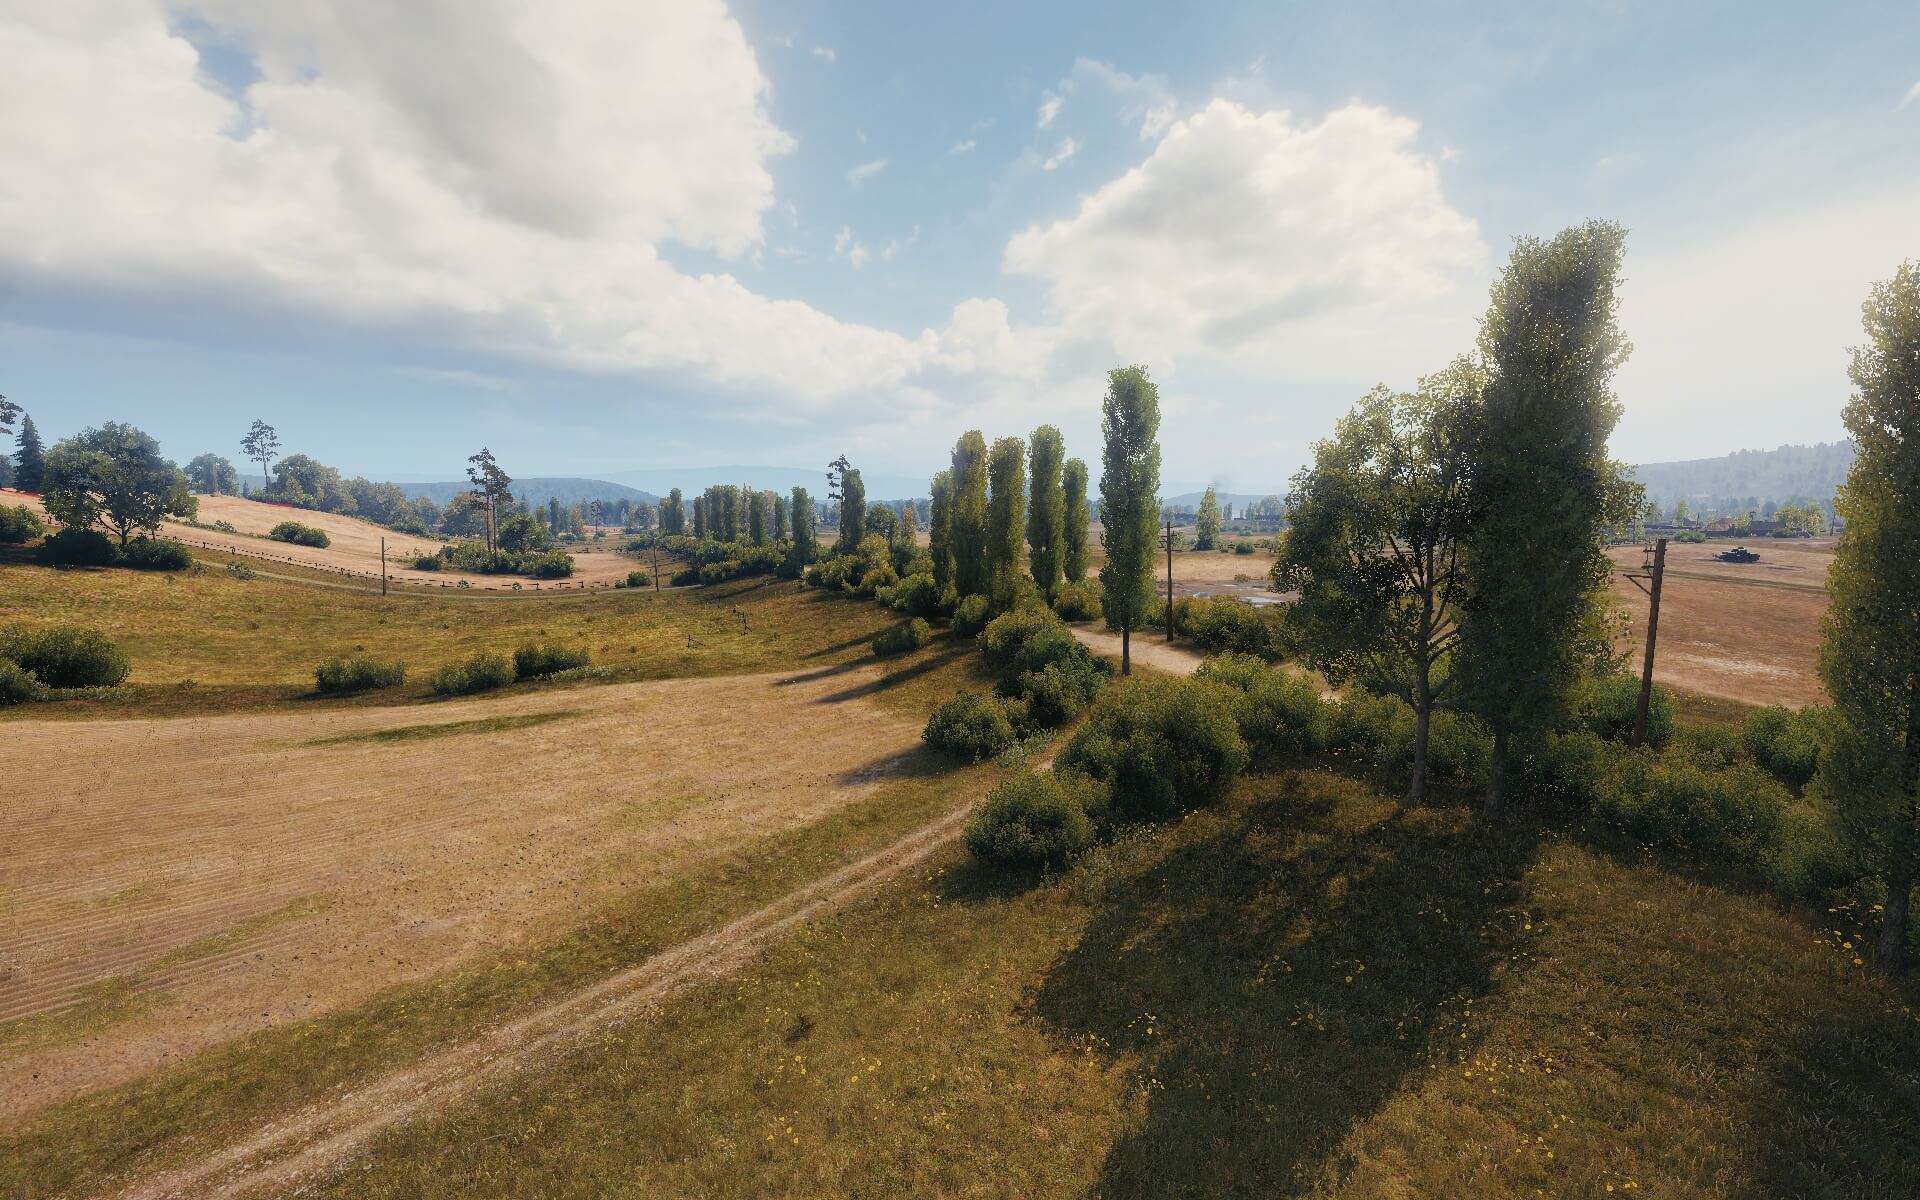
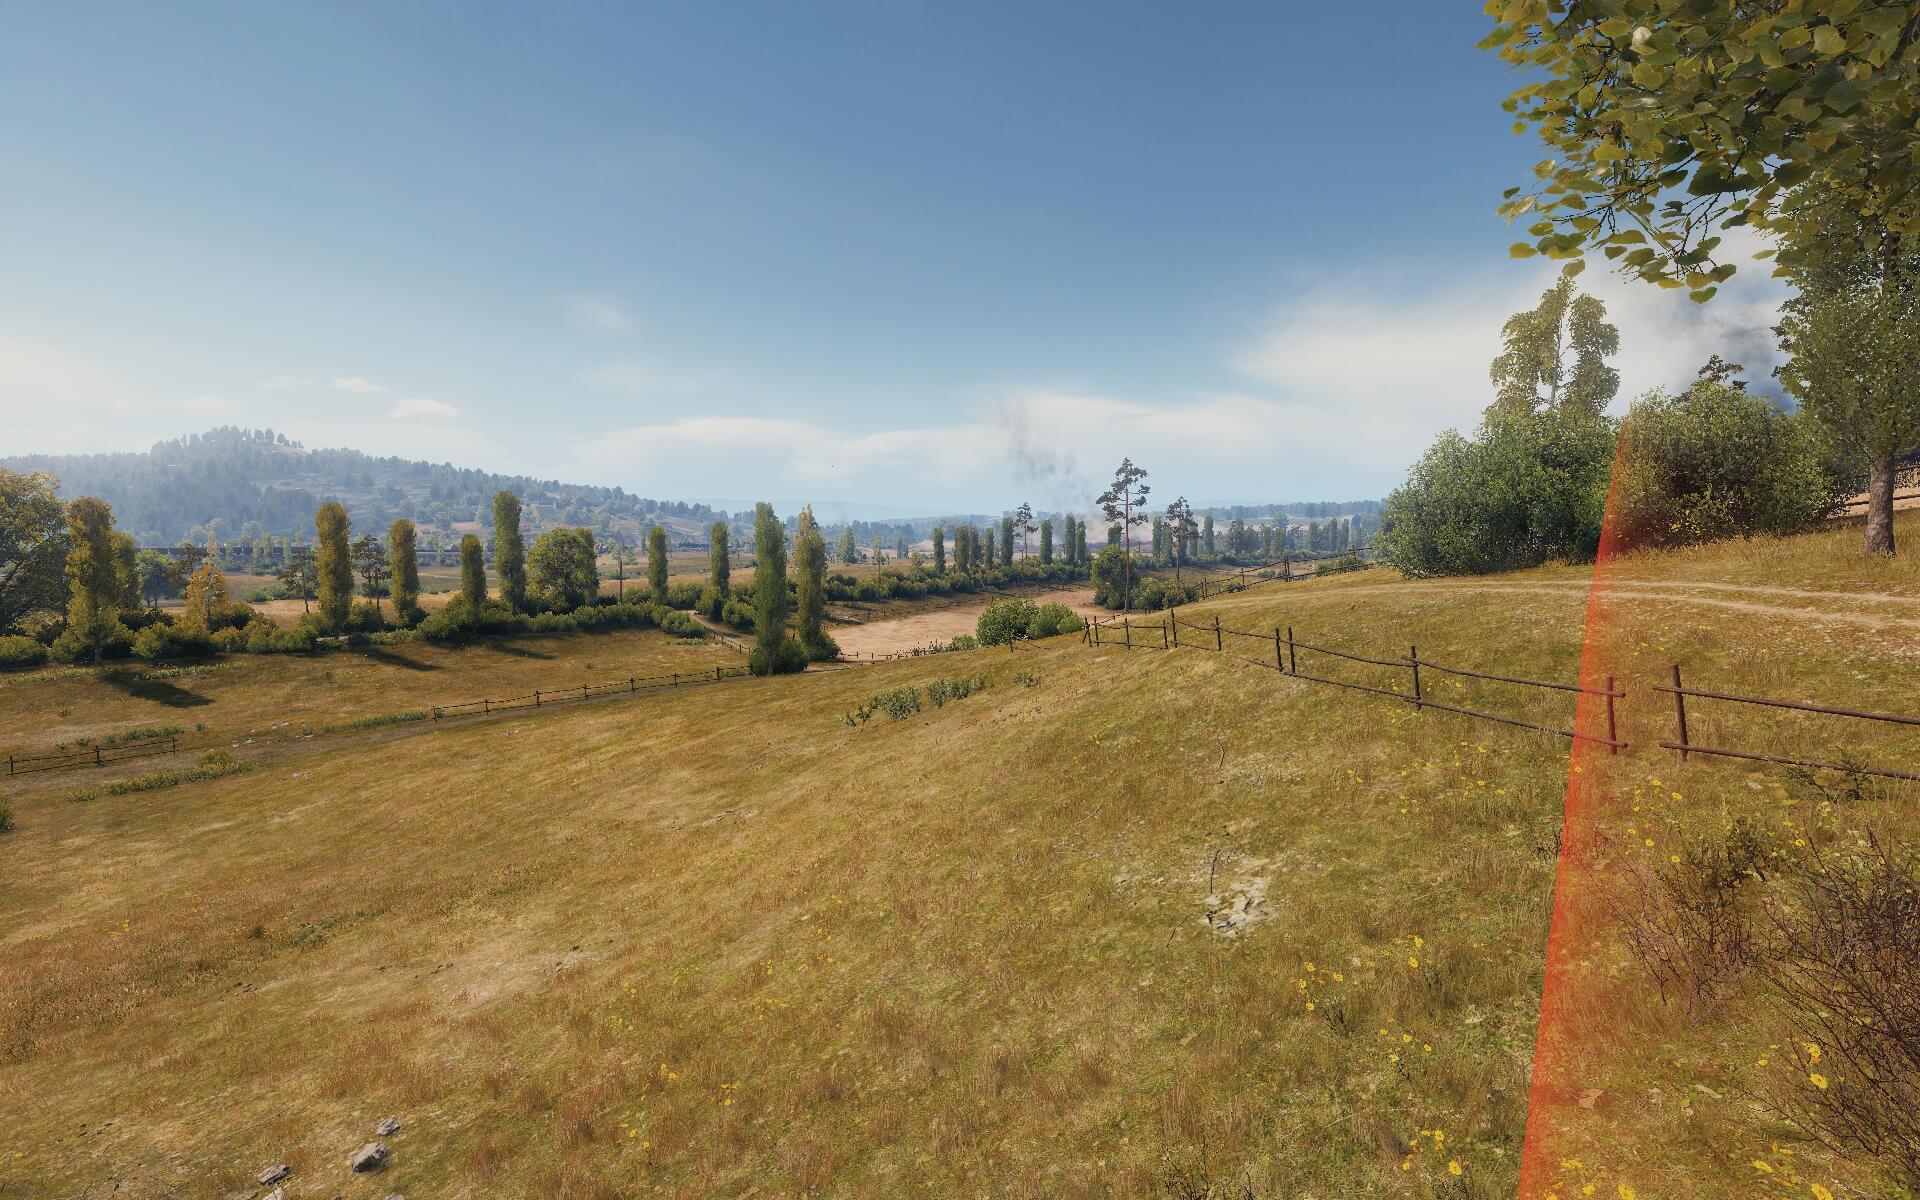
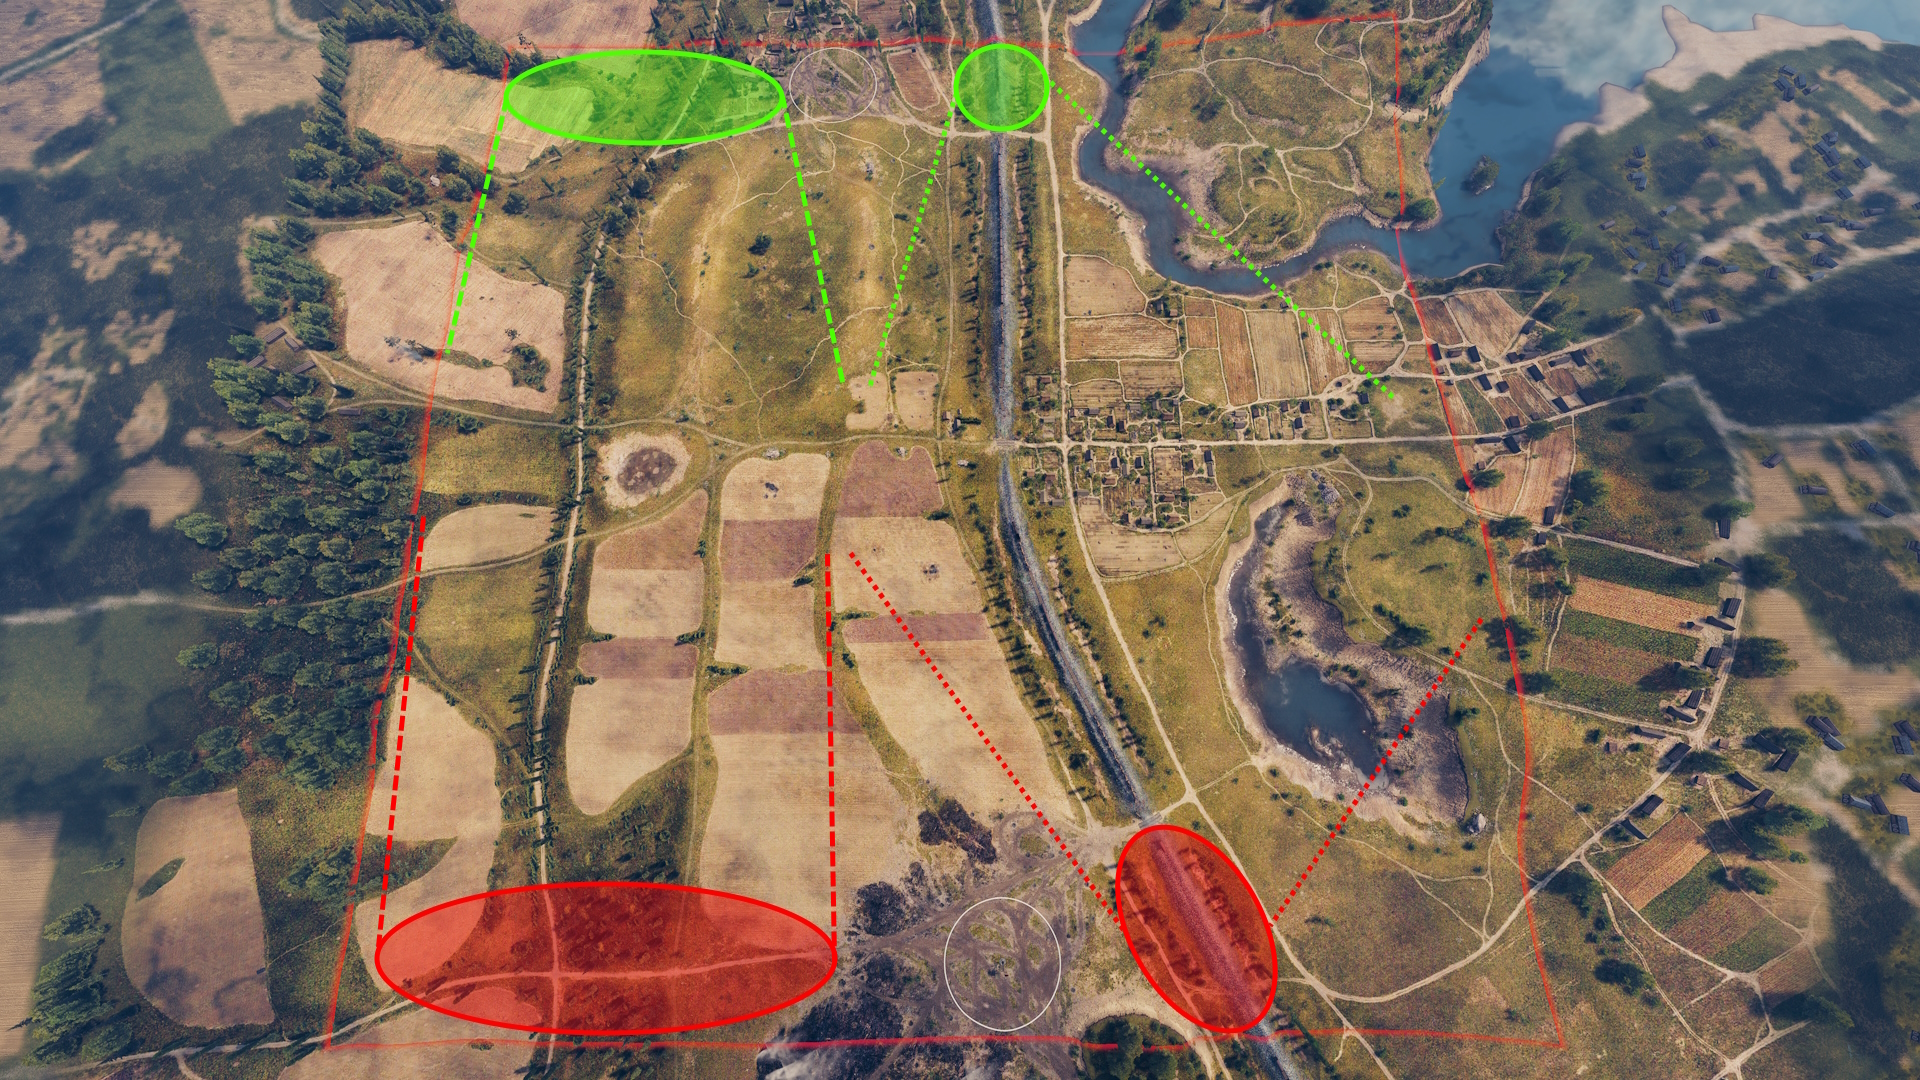
Elevated sniper position to support the team in the center, but prone to blind shots.

Elevated sniper position to support the team in the center, but prone to blind shots.

Elevated sniper position to support the team in the center, but prone to blind shots.

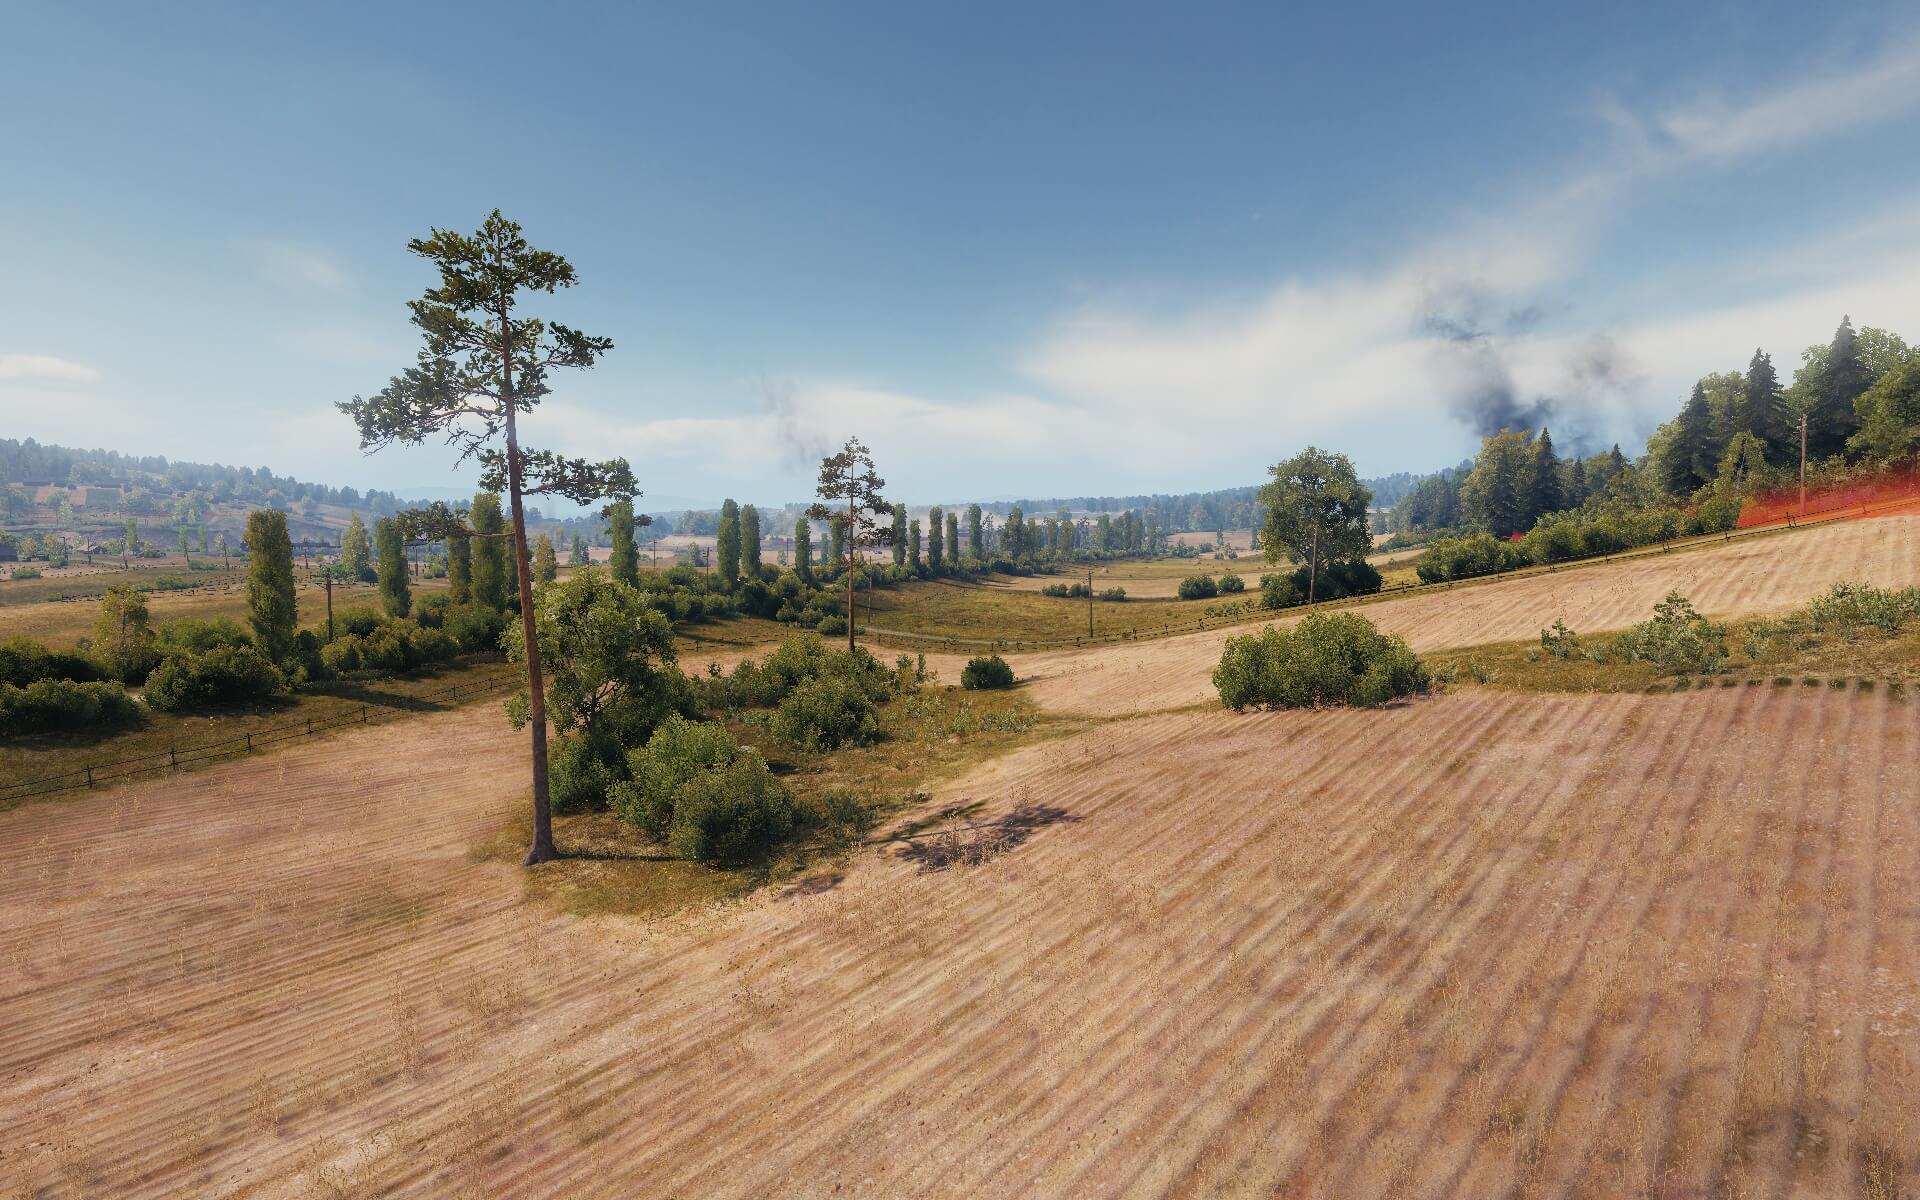
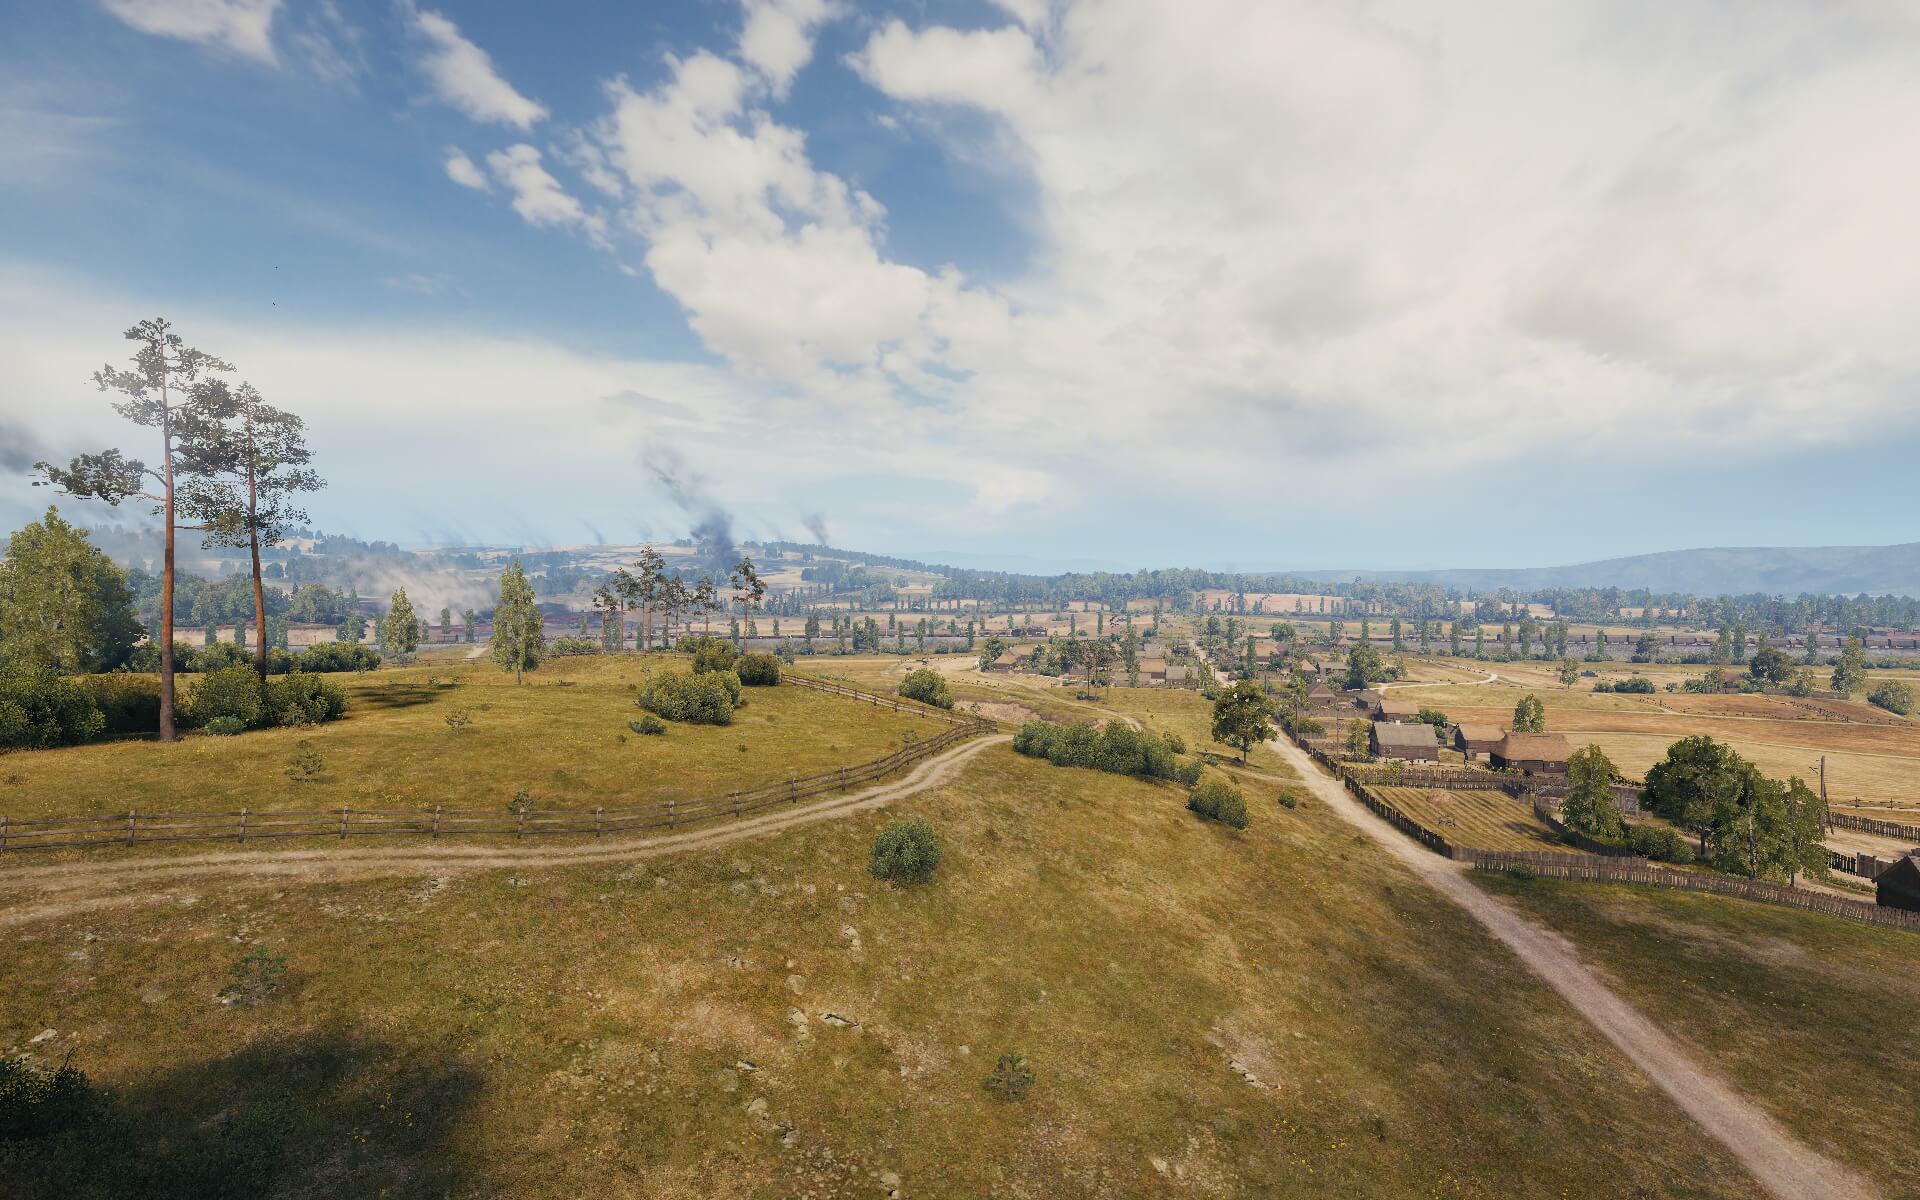
Elevated sniper position with some cover and excellent angles into the middle.

Elevated sniper position with some cover and excellent angles into the middle.
- Light Tanks
- Medium Tanks
- Heavy Tanks
- Tank Destroyers
- SPGs

-
At the start of the battle, cautiously advance along the road at the 2 line toward the center, utilizing bushes for passive spotting.
-
Use scouting equipment like Coated Optics, Binocular Telescope, or Commander’s Vision System to improve your capabilities to gather vital intel for your team.
-
Be cautious of sideline snipers when actively spotting from the central ridge.
-
Remember that your tank’s survival is paramount in gathering information on enemy movements and rotations.
-
The open space offers a variety of options for all types of medium tanks. Agile mediums with sturdy turret armor should engage enemies in the bustling center. Those focused on sniping will feel most comfortable supporting light tanks along the road. Meanwhile, close-quarters combatants will find a home on the fringes of the map’s western edges.
-
Stealthy movements and map awareness are crucial if artillery is present.
-
Long-range snipers with good accuracy should take over and hold positions in squares C1 and H1 to offer fire support across the map.
-
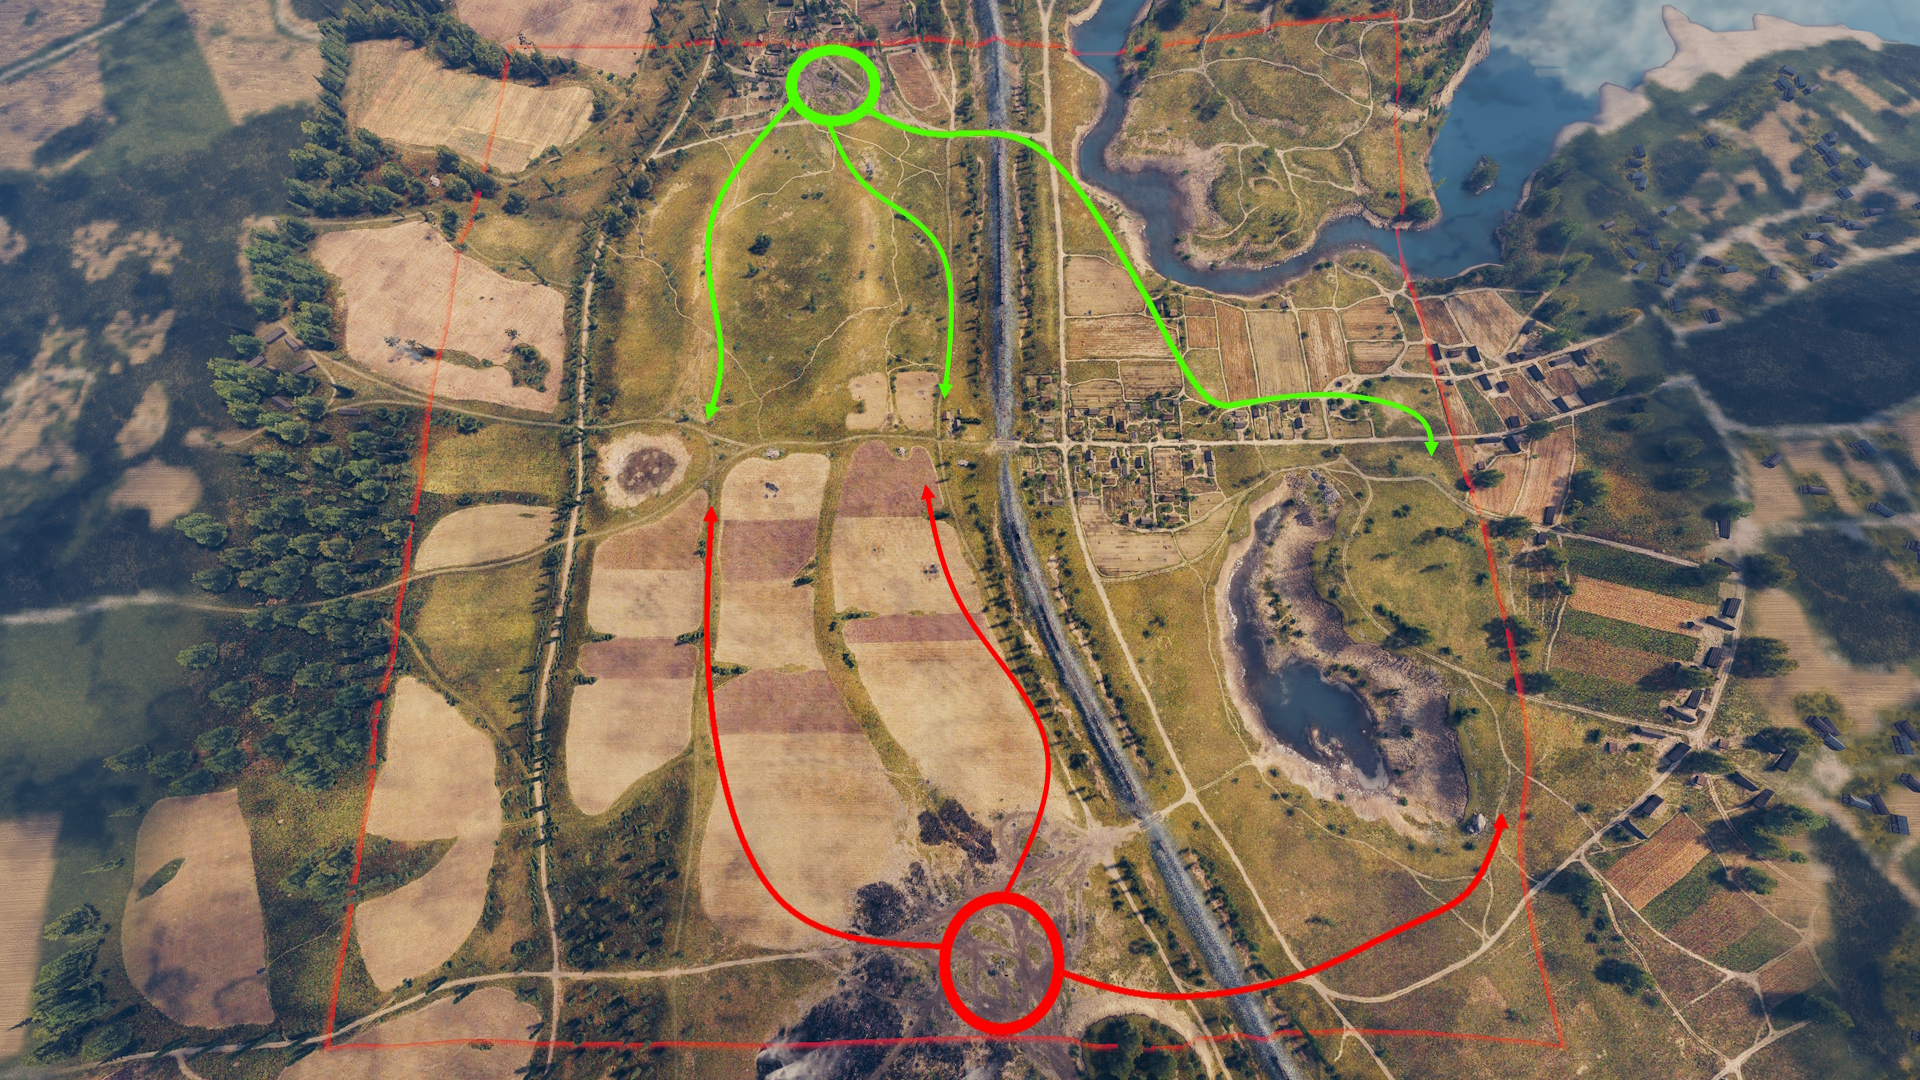
Fall back to the northwestern (squares A1–A3) and southwestern (squares K1–K3) corners if your team can no longer provide sufficient reconnaissance.
-
Heavy tank commanders will have the hardest time on Prokhorovka, and their fate depends on the capabilities of their allies and the presence of SPGs on the other team.
-
Pushing into the center at the E/F 2/3 squares in a fast heavy tank with high firepower can determine the course of the battle—as long as the opposing team doesn't have artillery or their SPGs have been taken out.
-
In an artillery-heavy environment, advancing along the railway tracks or advancing the eastern flank atop the hills are solid options.
-
Avoid a push along the 1 and 2 lines in the west as you will likely be spotted and picked off by snipers (unless your team clears the road for you).

-
Stealthy tank destroyers will have a blast on Prokhorovka as clandestine observers, swiftly striking from the back and hiding in bushes. Secure one of many designated sniping spots along the sidelines of the map and pick off your targets one by one.
-
Precision and careful aiming are paramount, especially when gunning for light tanks riding atop the middle ridge, but it's very satisfying when executed successfully.
-
Consider improving your spotting capabilities to be less reliant on your allies.
-
Blindly sending a shell or two into well-known spotting positions can yield surprising results and is worth a shot.
-
SPG commanders should hang back and position themselves along the A and K lines to establish a strong backbone for the team.
-
As the battle progresses, choose to advance with allied forces or seek refuge along the railway tracks.
-
Adaptability is the key to success on Prokhorovka—even for artillery. Prepare to move and reposition as needed to maintain maximum impact on the battlefield.
