


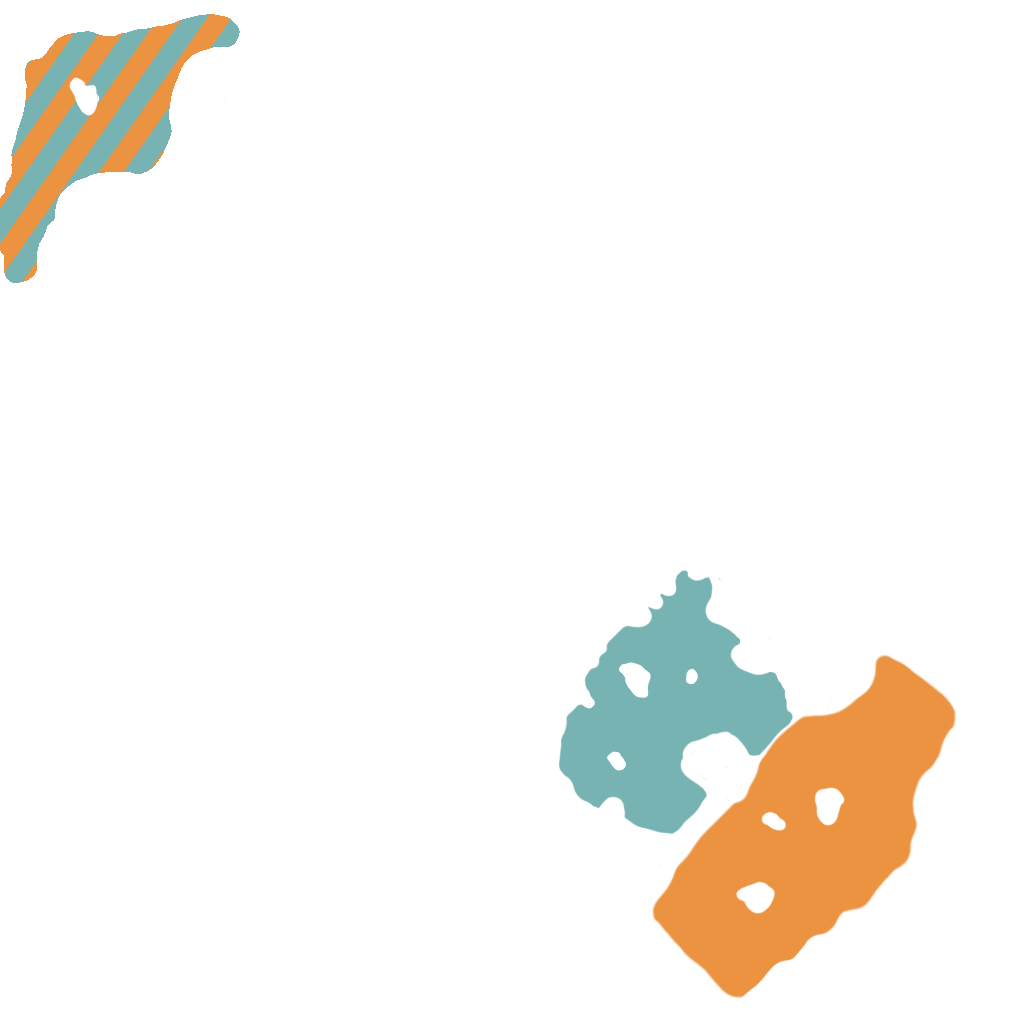

Spotting position into the enemy base, especially during the later stages of the battle.

Spotting position into the enemy base, especially during the later stages of the battle.

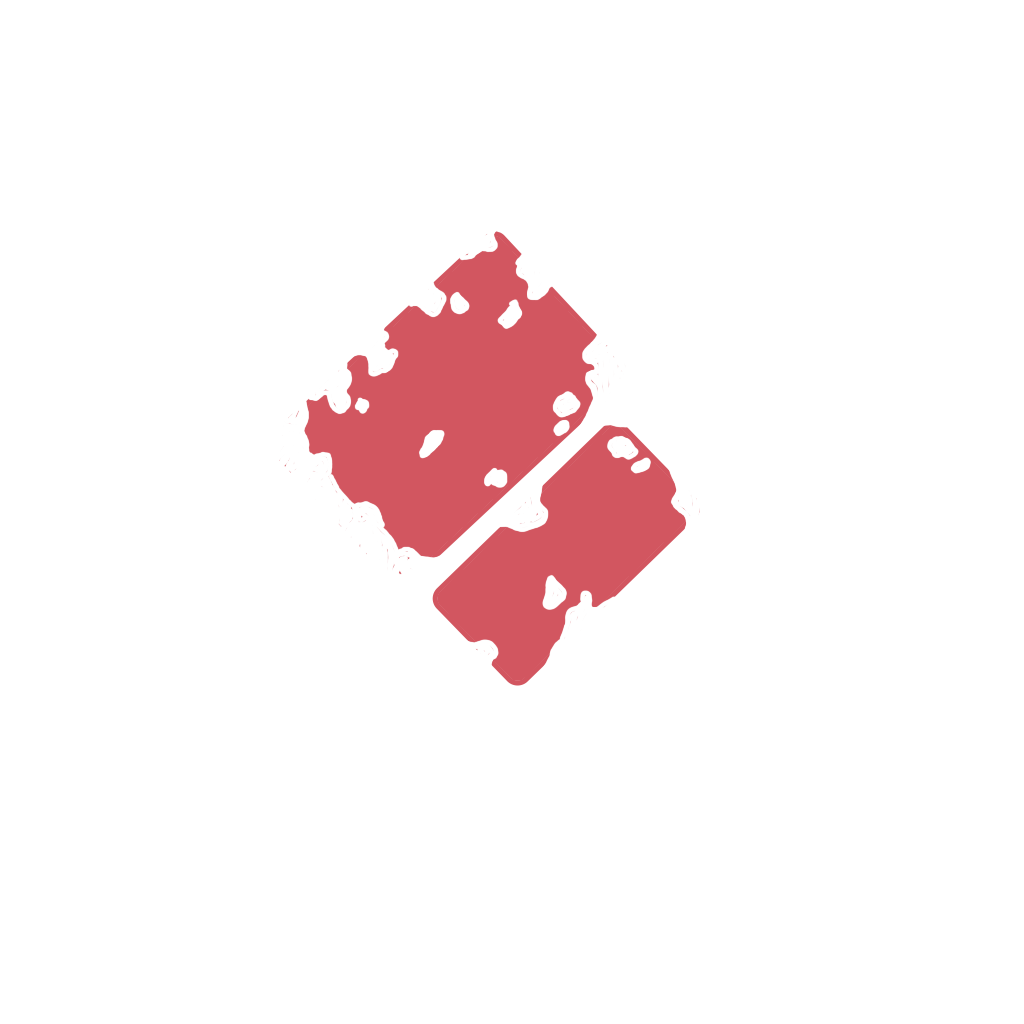
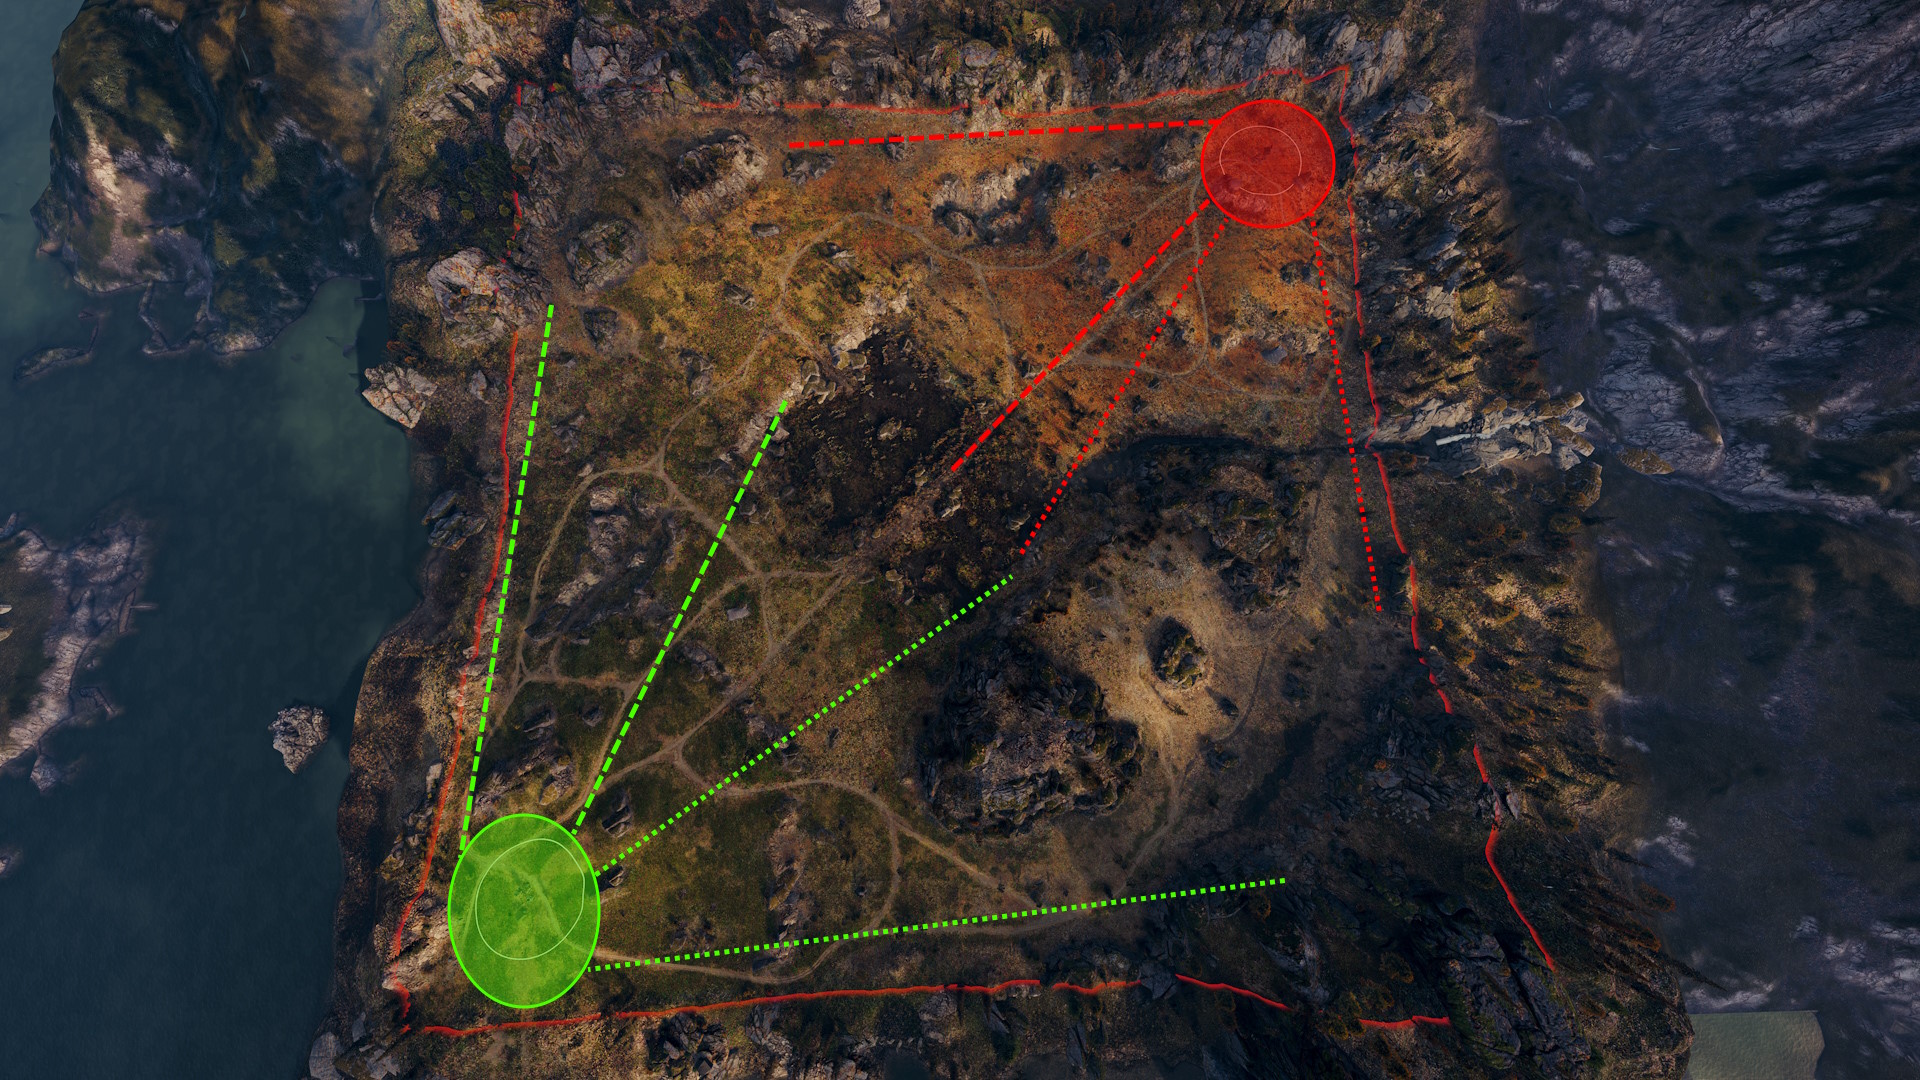
Key position for heavy and medium tanks to engage the enemy team in a battle for the hill position.

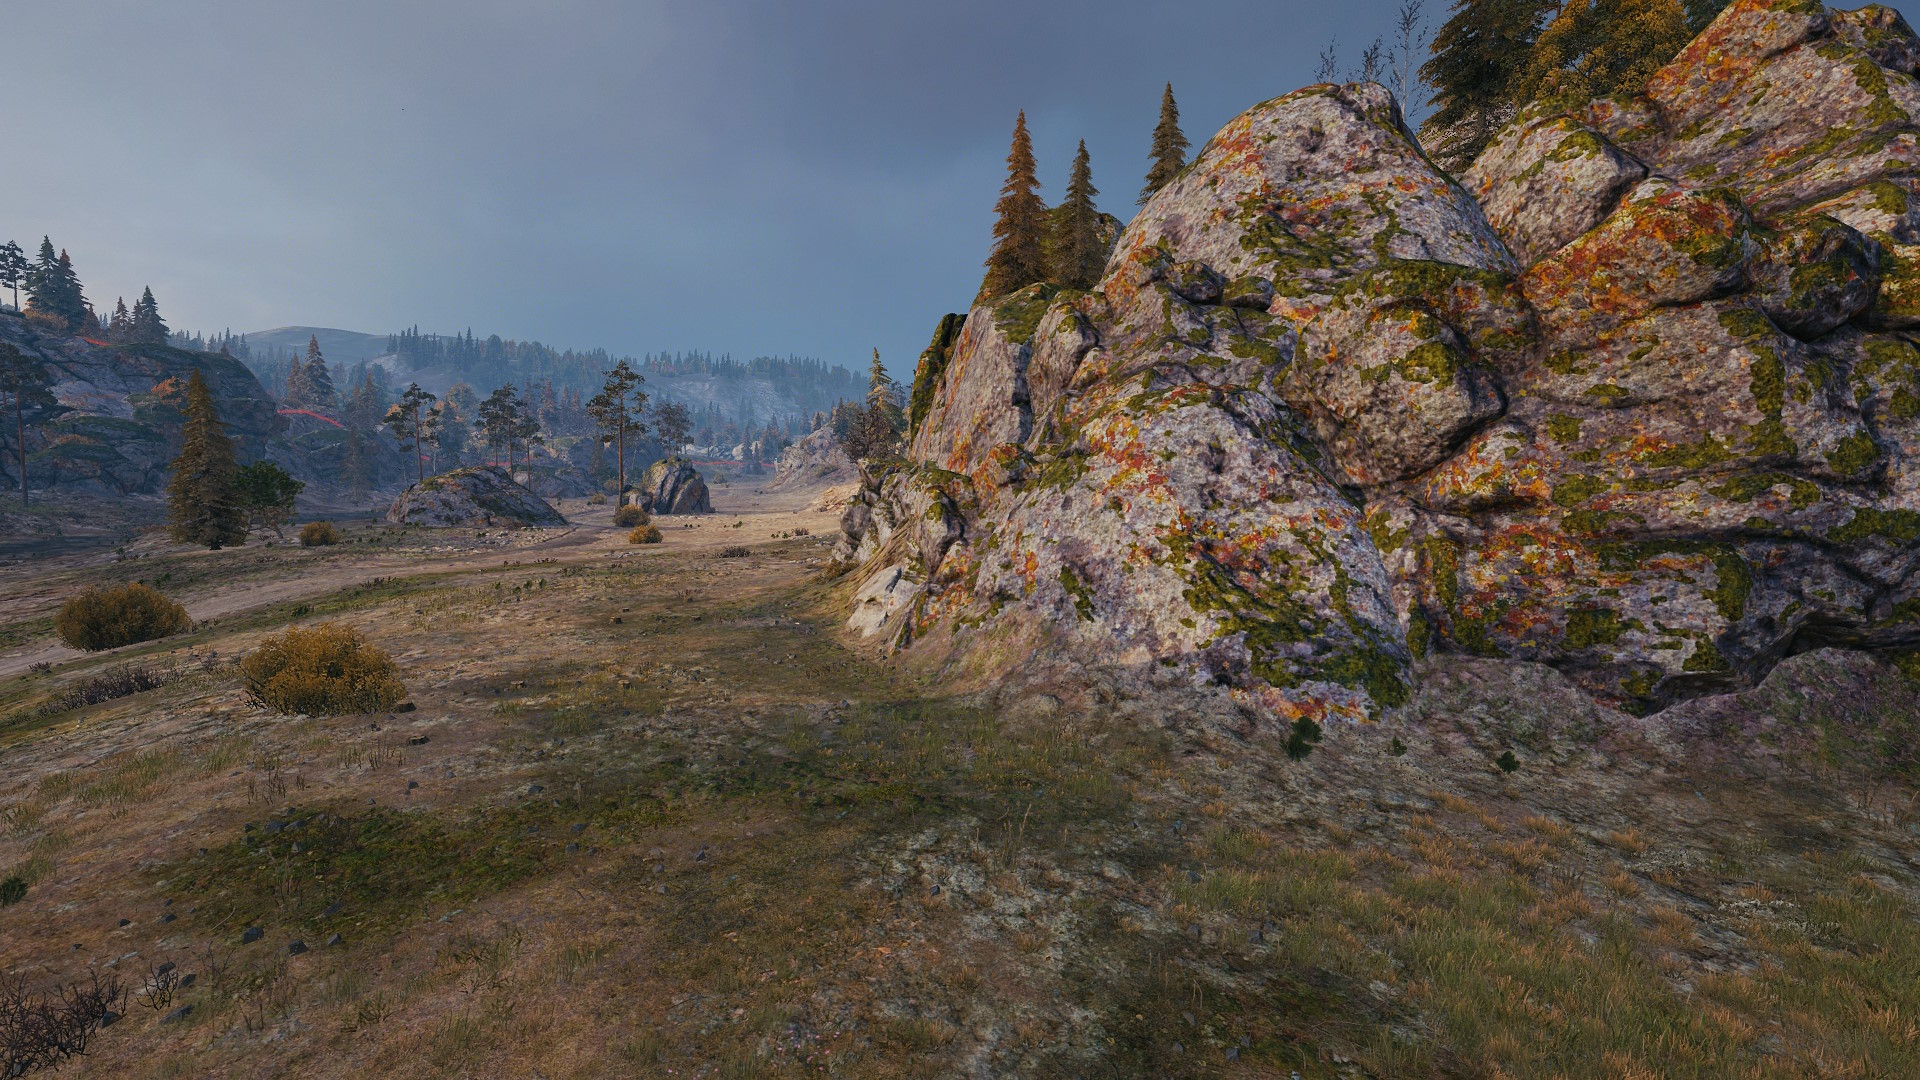
Key position for heavy and medium tanks to engage the enemy team in a battle for the hill position.

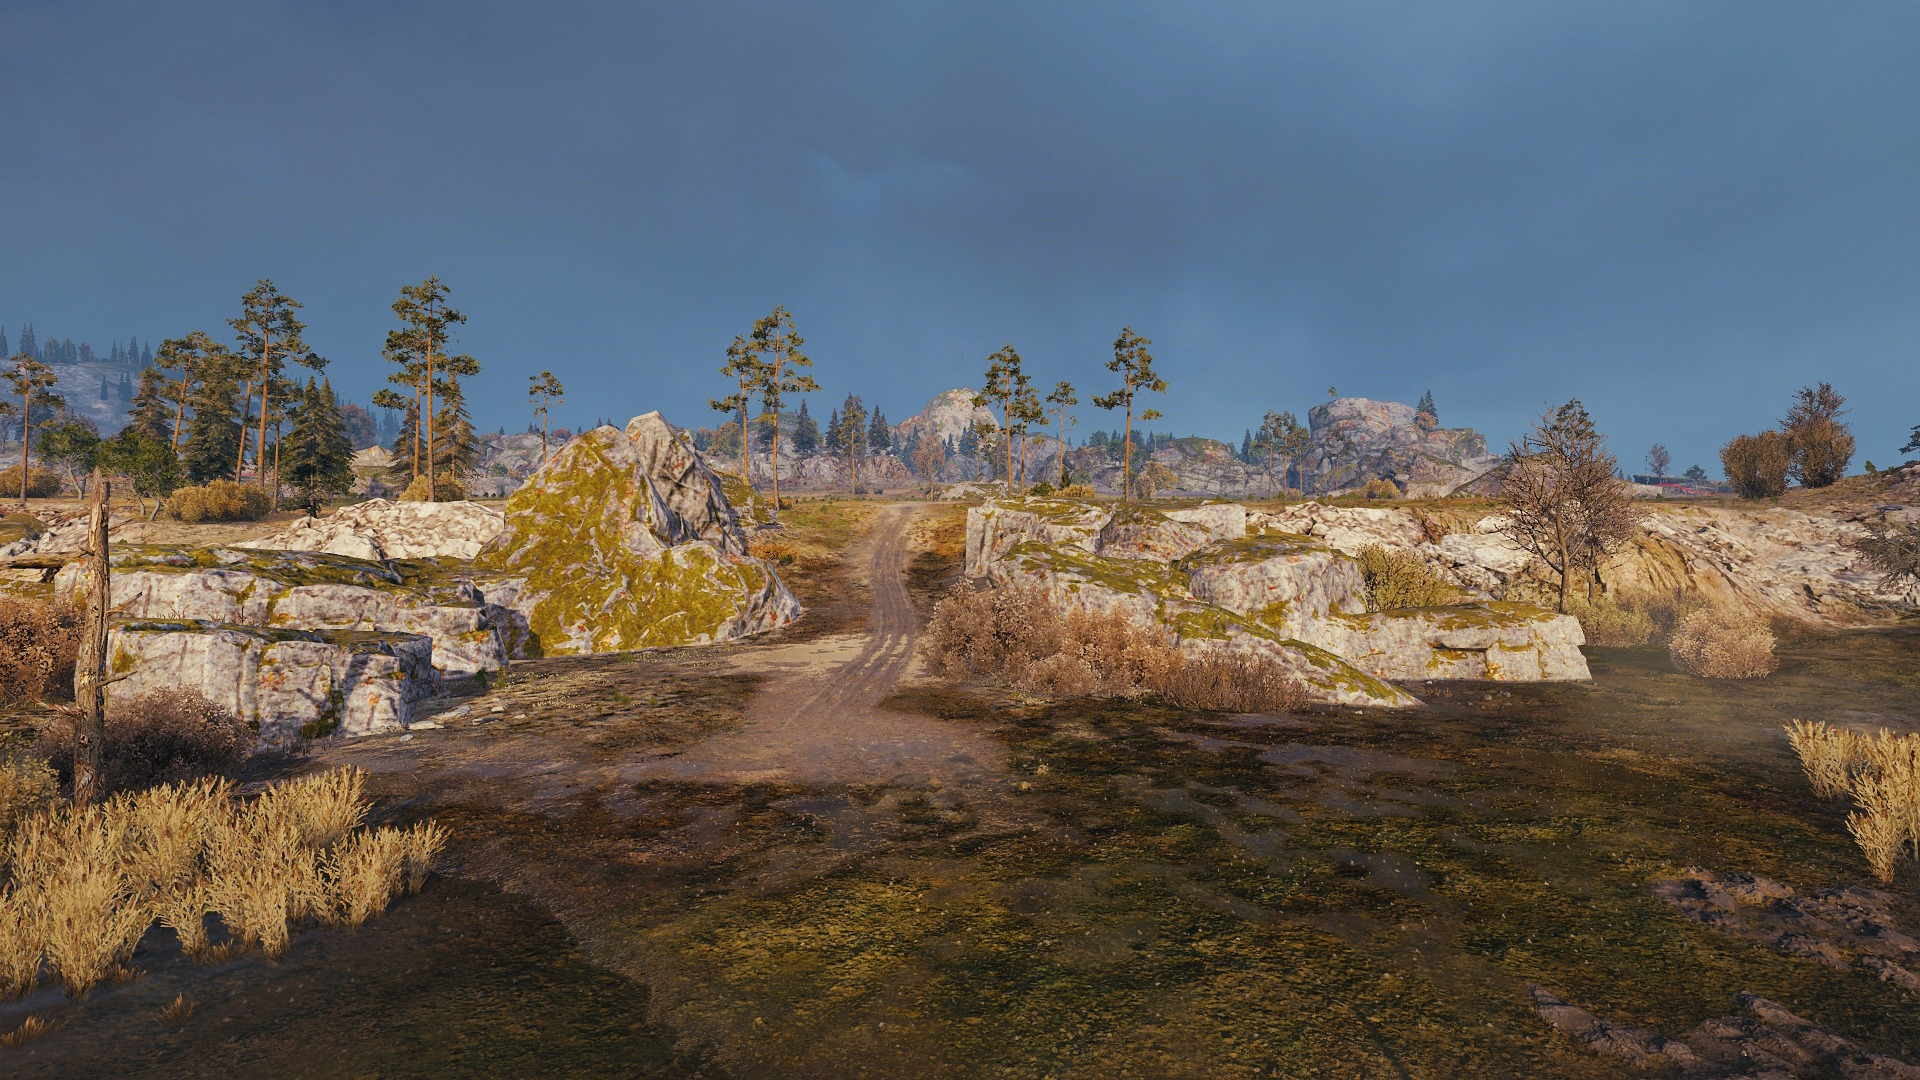
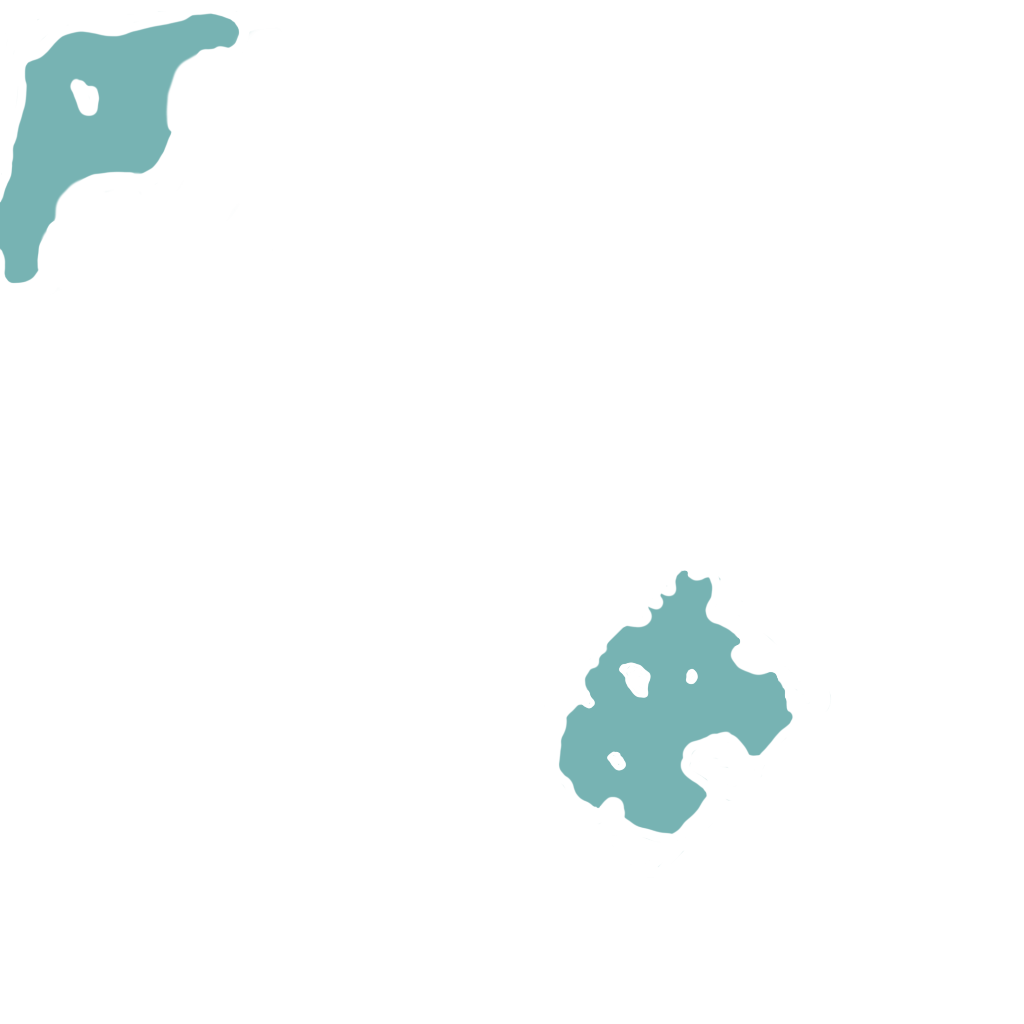
Sneaky support position for light and medium tanks to cover the northwestern lane if your team holds the hill.
- Light Tanks
- Medium Tanks
- Heavy Tanks
- Tank Destroyers
- SPGs
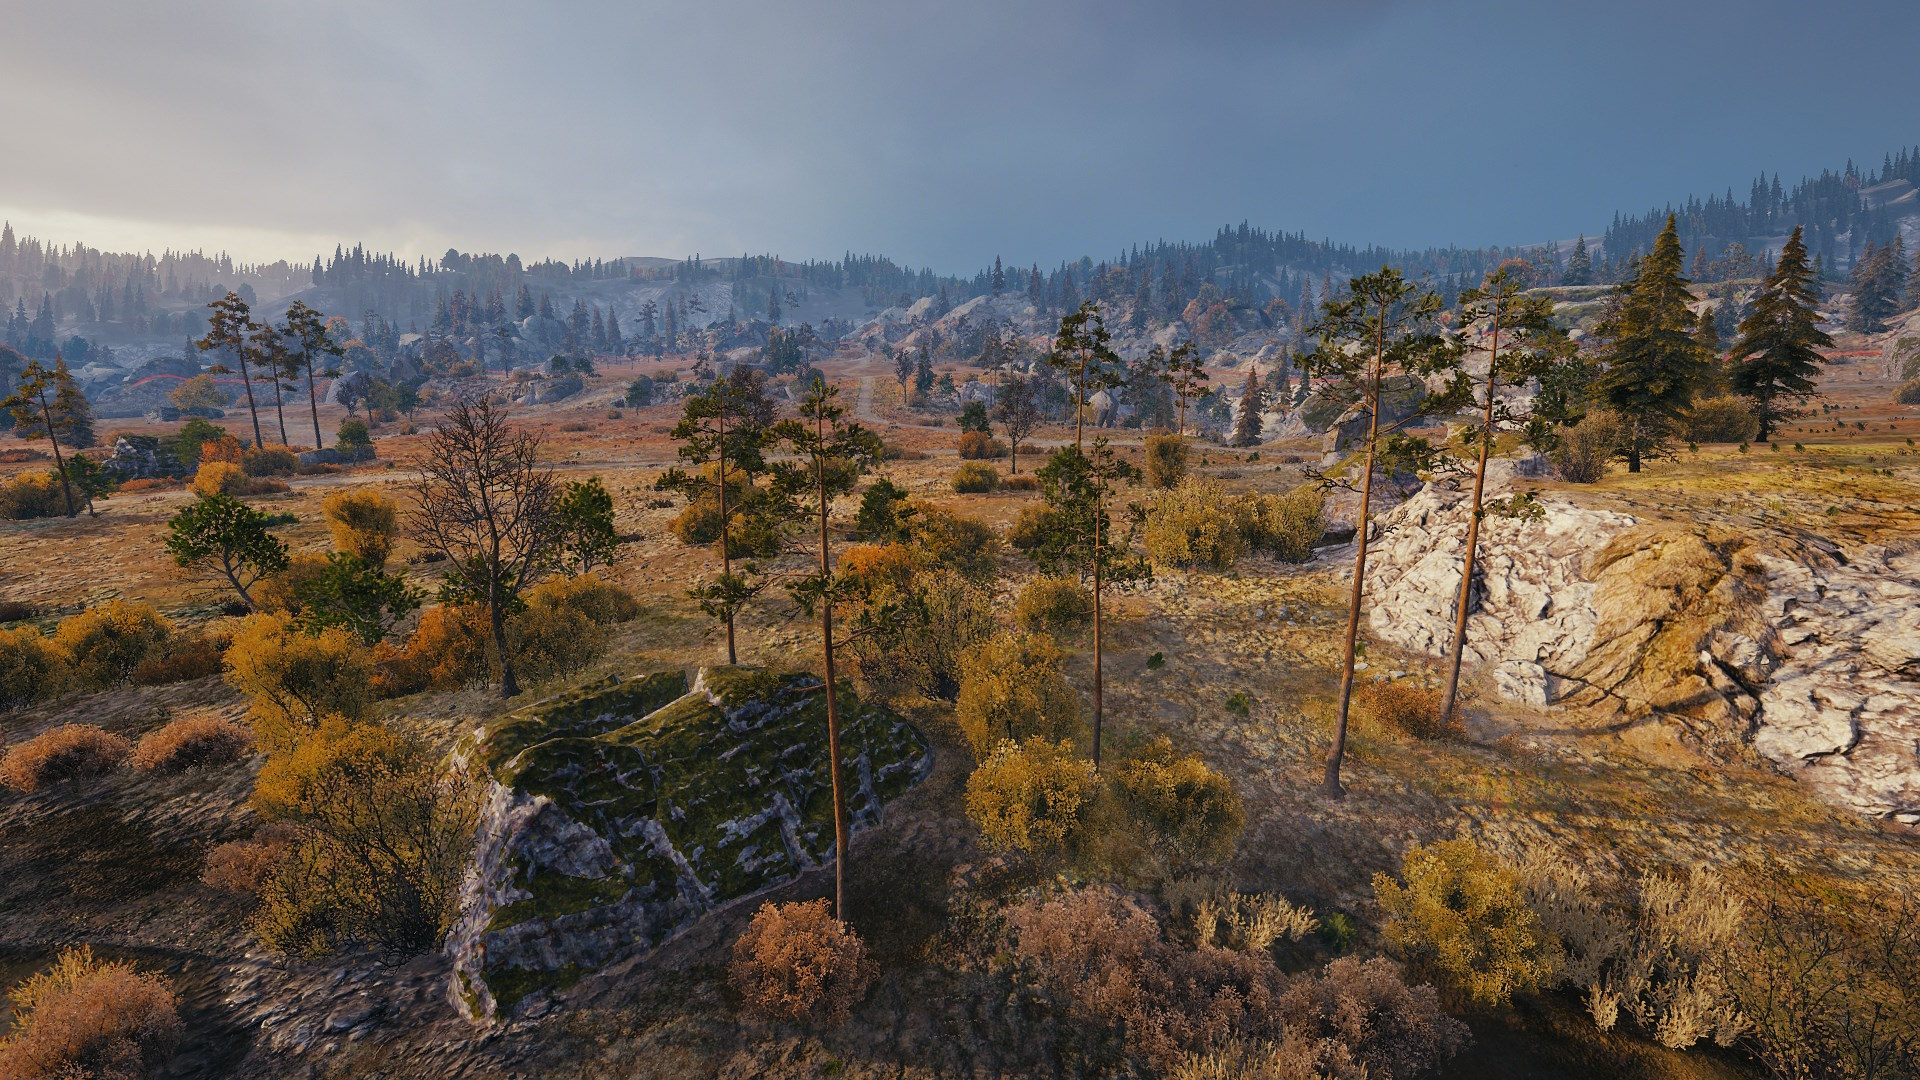
- Providing intel for the team and spotting enemy movement should be the primary objectives for light tanks on Karelia. The swamp areas left and right of the central road (murder road) offer spotting positions into the southeast and northwest.
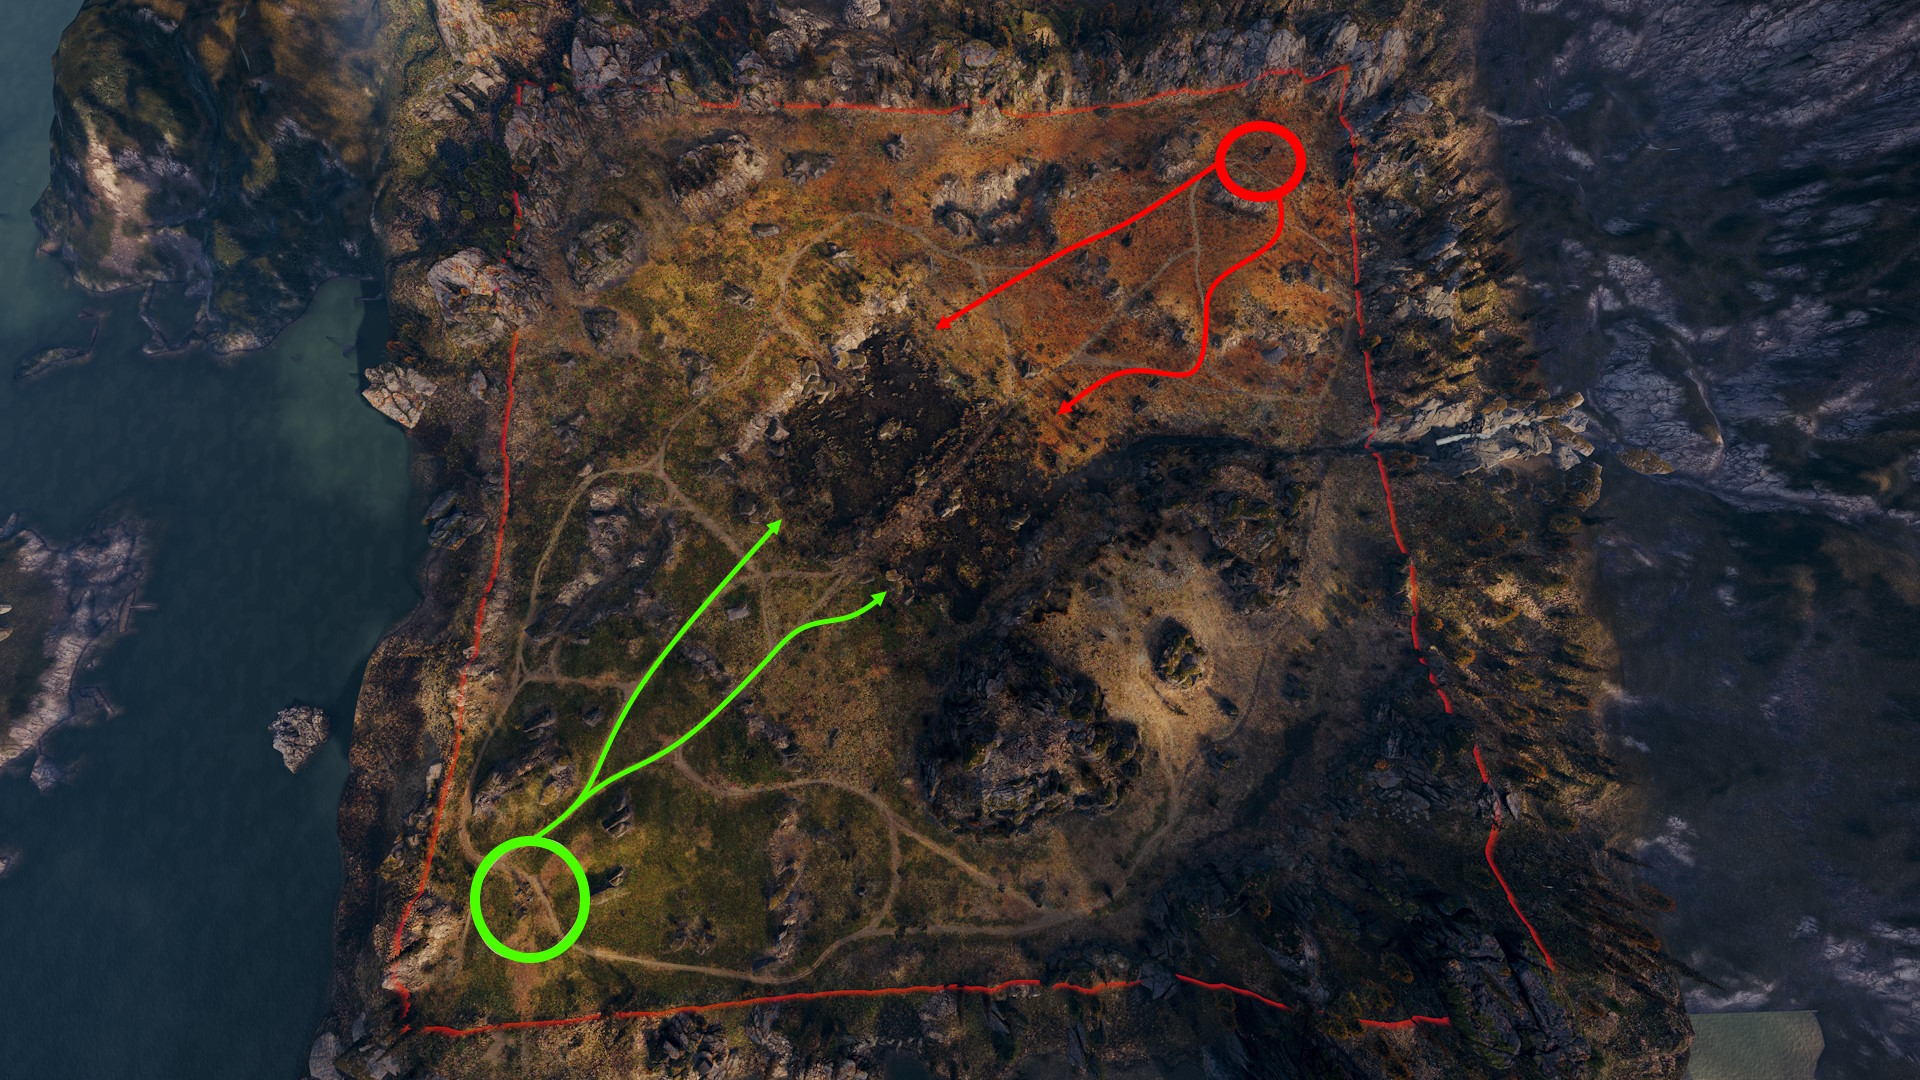
- Bold light tanks with speed and firepower can also support medium tank advancements in the northwest or keep watch at B4 and D2 while the team pushes the southeast lane.

-
Always check the lineup and consider your tactics based on the enemy composition. If you can outplay the opposing mediums, immediately take over the donut position in the southeast.
-
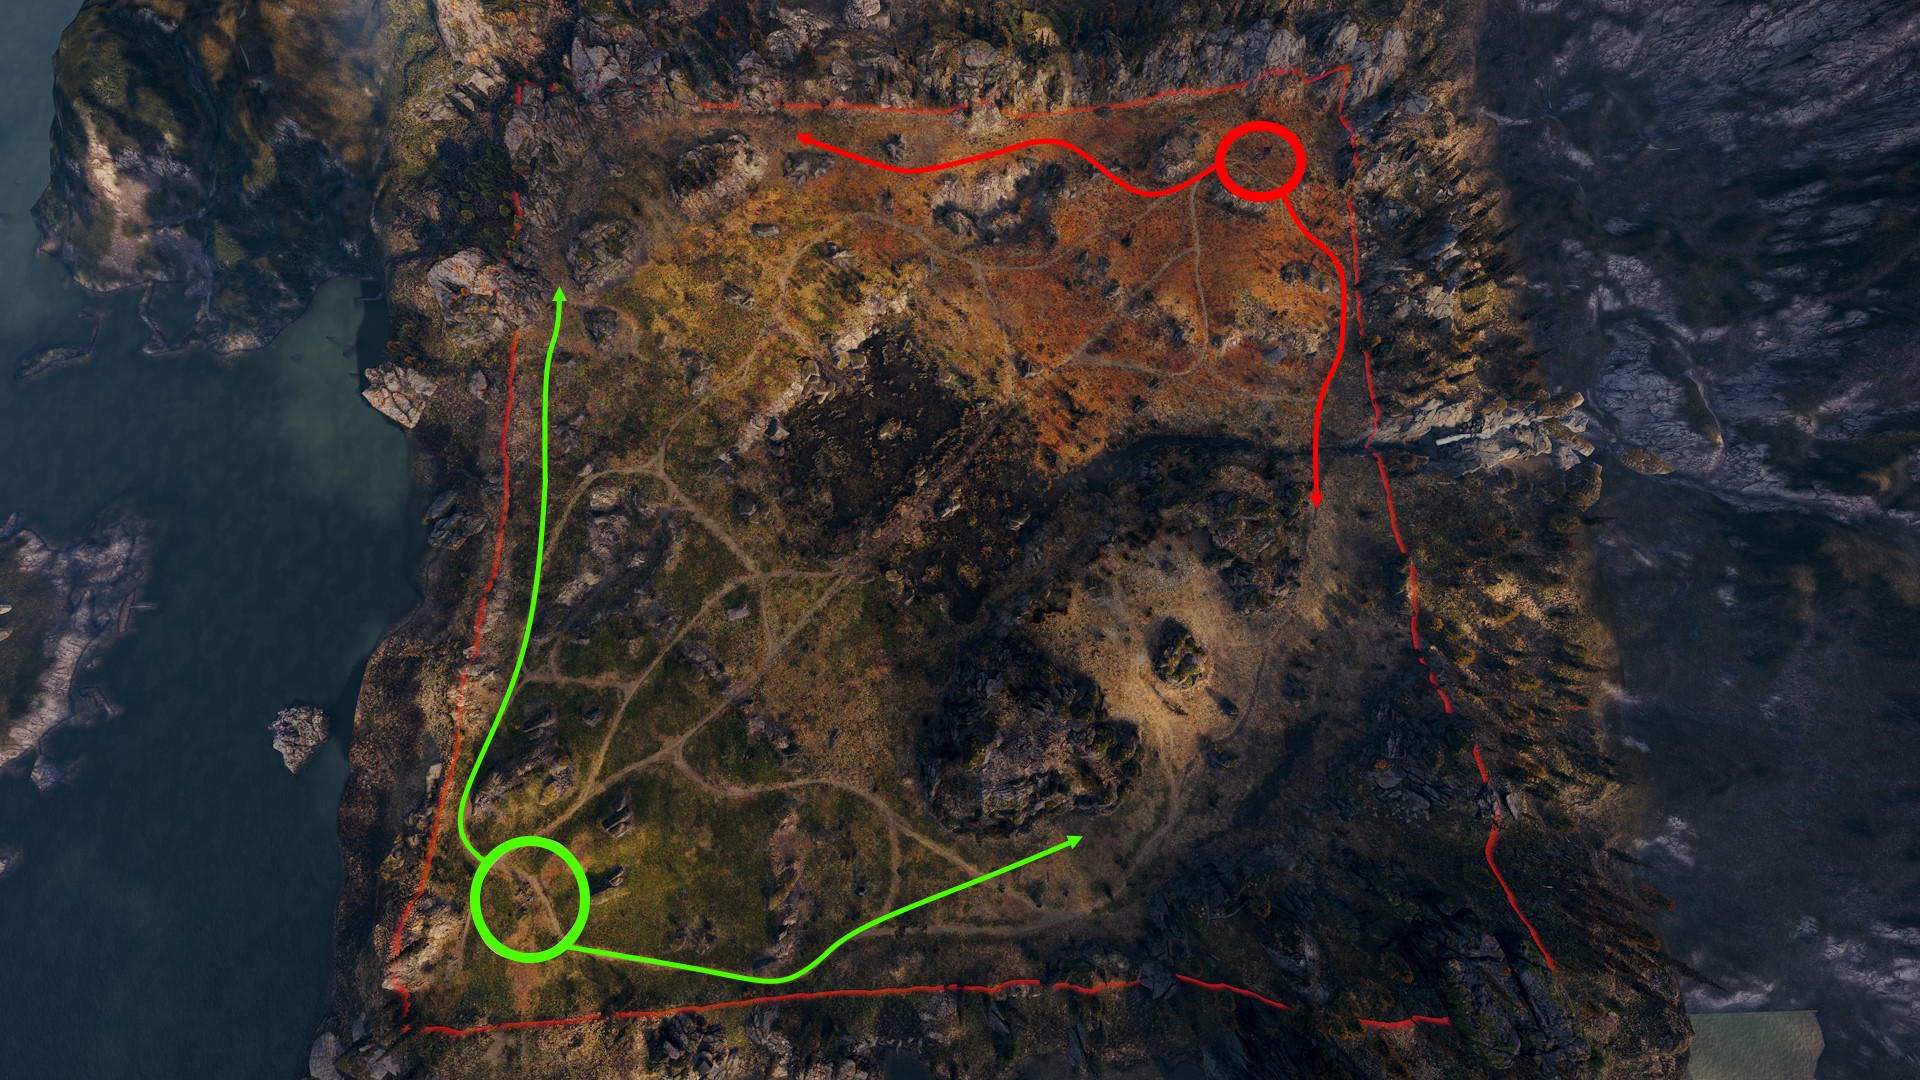
Alternatively, stay together with your heavy tank and support their advancements through the mountain area.
-
If your team cannot take the hill, drive to the northwest to secure the corner or start a flanking maneuver.
-
Slower heavy tanks should drive to the southeast and trade shots with enemies at the foot of the hill or through the outside area. Beware of enemy SPGs, as the outer lane is more exposed to shells from above than the inner path.
-
As a mobile heavy, assist your medium tanks in taking the southeast hill, or support their advances in the northwest if the enemy lineup is unfavorable.

-
Speedy tank destroyers can immediately advance to the F0 or K7 positions and use rocks with bushes to dish out punishment against players contesting the hill.
-
Slower tank destroyers should stay near their base to assist their team in the fight on the hill. Alternatively, going to the southeastern corners and supporting the heavy tank advances is an option if you have a lot of armor.
-
Positioning yourself at A8 or G1 allows TDs to support advancing medium tanks in the northwestern high grounds.
-
Self-propelled guns should initially locate themselves behind their base. Elevated positions and an open map layout allow for shots into the heavy tank area in the southeast.
-
Keep an eye on the minimap and the course of the battle, and relocate if the enemy team breaks through.
