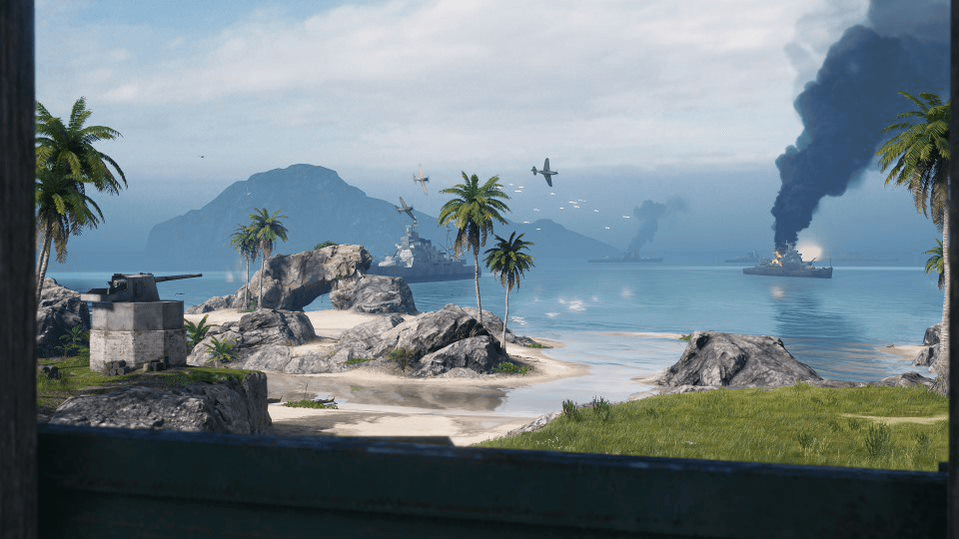
A: The highlight of the map is the volcano that looks ready to erupt. At some points, you can see planes in pursuit between rocks or crashing into bunkers.


- Positions of Both Teams
- Movement
- Deployment of Vehicles
- Directions of Shots
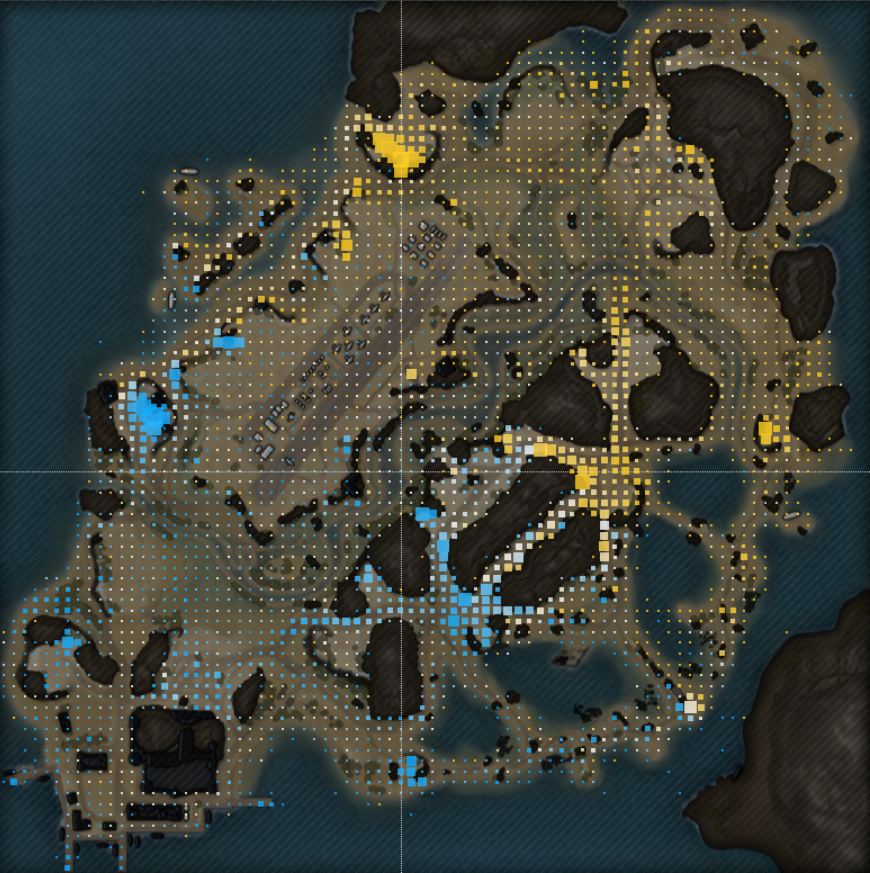
Blue - First team
Yellow - Second team
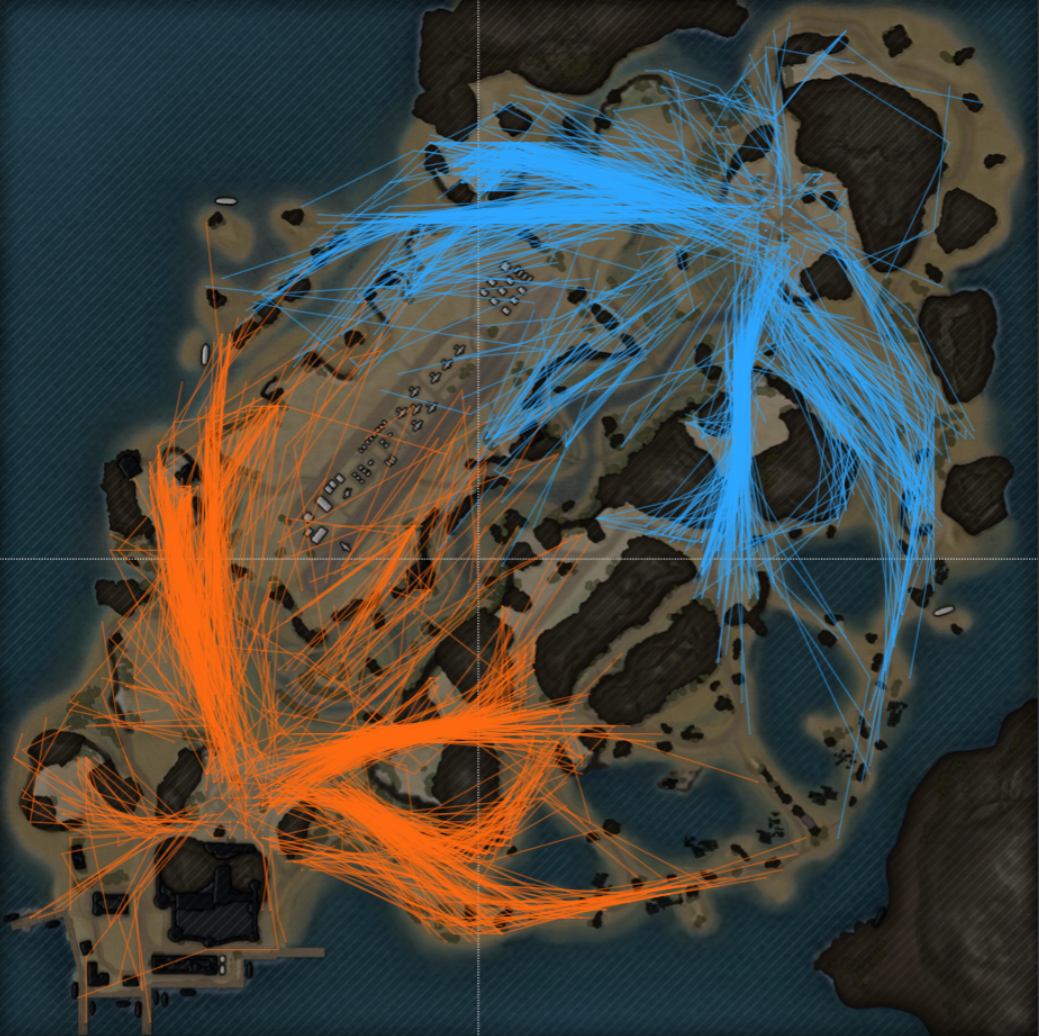
Orange - First team
Blue - Second team
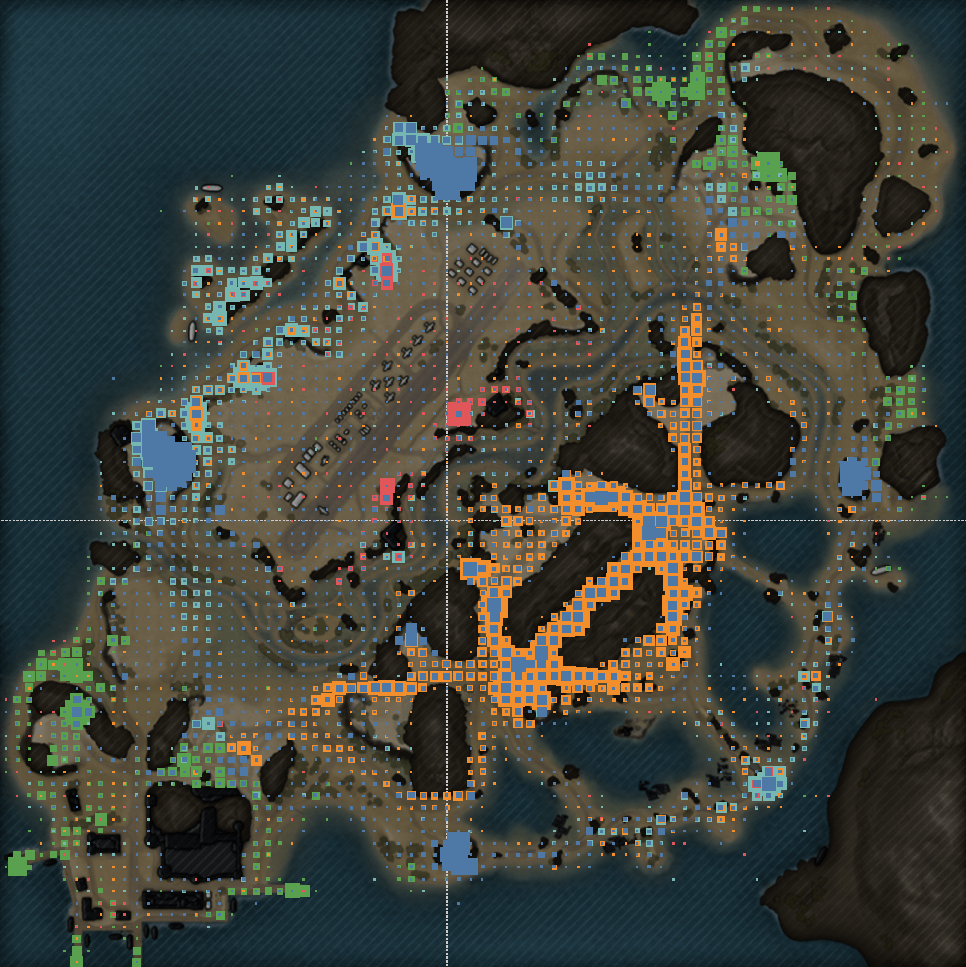
Blue - Tank destroyers
Orange - Heavy tanks
Red - Light tanks
Turquoise - Medium tanks
Green - SPGs
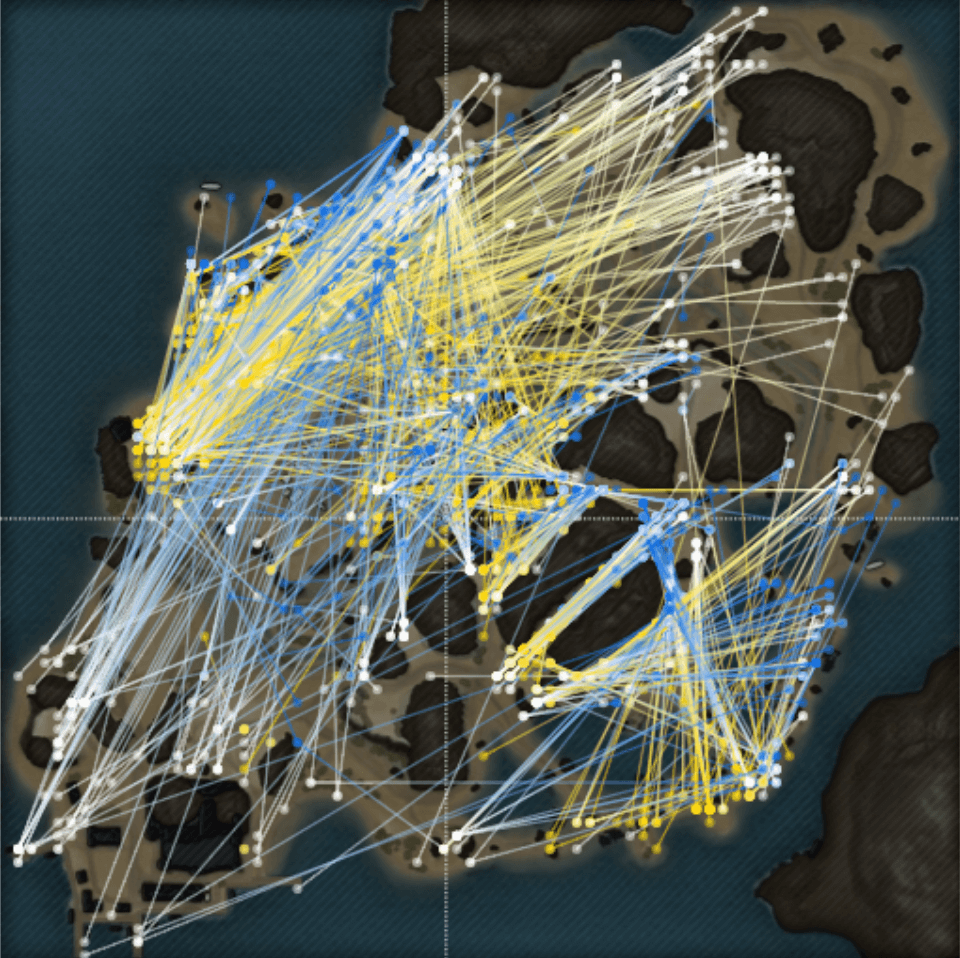
Yellow - From the second team
Blue - From the first team


The coast is intended for mid-armored, fast, and maneuverable vehicles.


The shallow part of the river cannot be called a full-fledged direction, but it can play an important tactical role in outflanking the enemy.


A subdirection for heavily armored vehicles. Elevated positions that provide control over most of the map.


This rocky gorge is well suited for the gameplay of heavily armored vehicles. It is protected from both SPG fire and flank attacks by the enemy.


The terrain of the coast with the oyster farms is very uneven. Vehicles with good gun depression angles can fully unlock their potential here.


Positions with thick vegetation for long-range sniping. These are good for controlling the adjacent areas and repelling flank attacks.

Positions with thick vegetation for long-range sniping. These are good for controlling the adjacent areas and repelling flank attacks.

Positions with thick vegetation for long-range sniping. These are good for controlling the adjacent areas and repelling flank attacks.

Positions with thick vegetation for long-range sniping. These are good for controlling the adjacent areas and repelling flank attacks.

Positions with thick vegetation for long-range sniping. These are good for controlling the adjacent areas and repelling flank attacks.

Positions with thick vegetation for long-range sniping. These are good for controlling the adjacent areas and repelling flank attacks.


Bypass routes behind the bases. These will be important as battles come to an end.

Bypass routes behind the bases. These will be important as battles come to an end.
