Before and After: Armor Changes in 9.10 HD Models
World of Tanks Update 9.10 introduced another 29 "HD" vehicle models to the game. This includes the whole branch of new Japanese heavy tanks, plus 20 vehicles that should already be familiar to you.
Why Does Armor Change When Vehicles Are Made HD?
Reworking existing vehicles in HD greatly enhances realistic detail, and adds to the atmosphere of smoke, fire and steel that armored vehicles convey in World of Tanks. But in addition to aesthetic changes, HD reworking also lets us revisit a vehicle's armor values. This happens for at least a couple of reasons:
- Over time, we obtain more accurate historical data (i.e., updated information on schematic drawings)
- Remodeling parts of the hull, turret, etc. naturally creates new angles in the model geometry, altering where a tank can be penetrated
Vehicle models in World of Tanks come in two forms: visual and collision.
Visual/Collision
Basically, the visual model is the tank everyone sees in battle; a graphical image of the hull, suspension, turret and gun. The collision model is an abstracted representation of the vehicle used for server calculations -- it contains full information about armor, module arrangements (internal and external), and positions of the Crew members.
Thus, reworking a vehicle in HD not only changes the visual model, but also demands a revision of the collision model. This way, everything is consistent with the new geometry.
Among the 20 vehicles reworked in Update 9.10, the most considerable changes to armor happened on the following six vehicles. The charts below will give you the details:
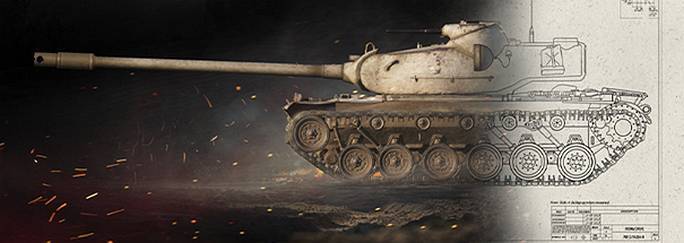
Click and drag the slider!
A comparison of SD and HD armor values shows that in Update 9.10, this top US heavy tank received thicker armor in the joint between the lower and upper glacis plates. The armor of the commander's cupola also increased.
Click and drag the slider!
The main difference here was an increase to the sloped armor for the cupolas to between 190 and 250mm. Also, the armor of the turret front was increased a little.
Click and drag the slider!
The armor of the lower glacis plate was increased. The slope angle of the upper glacis plate was changed, covering the vulnerable spot with 160mm armor.
Click and drag the slider!
Changed the values of certain armor groupings on the turret -- e.g., the "cheeks" and the armoring on the turret below the mantlet were made thicker. Also, the frontal hull armor was increased.
Click and drag the slider!
Strengthened the frontal turret armor. Increased the armor thickness of upper and lower plates.
Click and drag the slider!
The armor pattern of this light tank changed after we obtained more accurate historical data.